Table of Contents
21” Campus Scope Operating Manual
Last updated: 2024/01/09 12:49
Before Starting
Review Weather Limits
- Monitor campus weather conditions by watching the UA Department of Atmospheric Sciences and NOAA webpages.
- Close the mirror covers and dome if the humidity gets to 90%.
- Keep an eye on wind speed! Close if 30MPH or higher. Use good judgement.
- Do not open if smoky or dusty conditions exist.
- Put the system in Lightning Shutdown if thunderstorms are predicted. Check forecast before leaving the dome!
Review Observational Safety
ALWAYS OPEN THE MIRROR COVERS LAST WHEN OPENING AND CLOSE THEM FIRST WHEN CLOSING.
Mirror Cover/Dome Collisions
When the mirror covers are open the telescope can hit the dome!! Make sure to watch the mirror covers when slewing the telescope as they can hit the catwalk on either side of the upper shutter. If there is time, click the cancel button to ramp the telescope down to a stop. If you must stop immediately, click the disable button. You can also hit the Emergency Stop button on the observatory control panel on the south wall of the dome.
Telescope Runaways
The telescope will run away and not stop if the NGTCS computer (on the west side of the telescope mount) dies while the telescope is moving. You MUST run over and hit the Emergency Stop button on the observatory control panel, which will kill power to the RA and DEC drive motors stopping the motion. If this happens telescope pointing will be lost and you will have to perform a hardstow. Read about how to do this in the “what do do if you lose pointing” link.
Telescope/Items on Observing Floor Collisions
You must make sure that the telescope will clear all items on the observing floor BEFORE you move the telescope! Be sure to watch any cables that could get caught.
Steps
The dome is dark! Be careful when stepping on and off the observing platform!
Cold Start Up
Follow the steps below to bring the telescope out of lightning shutdown:
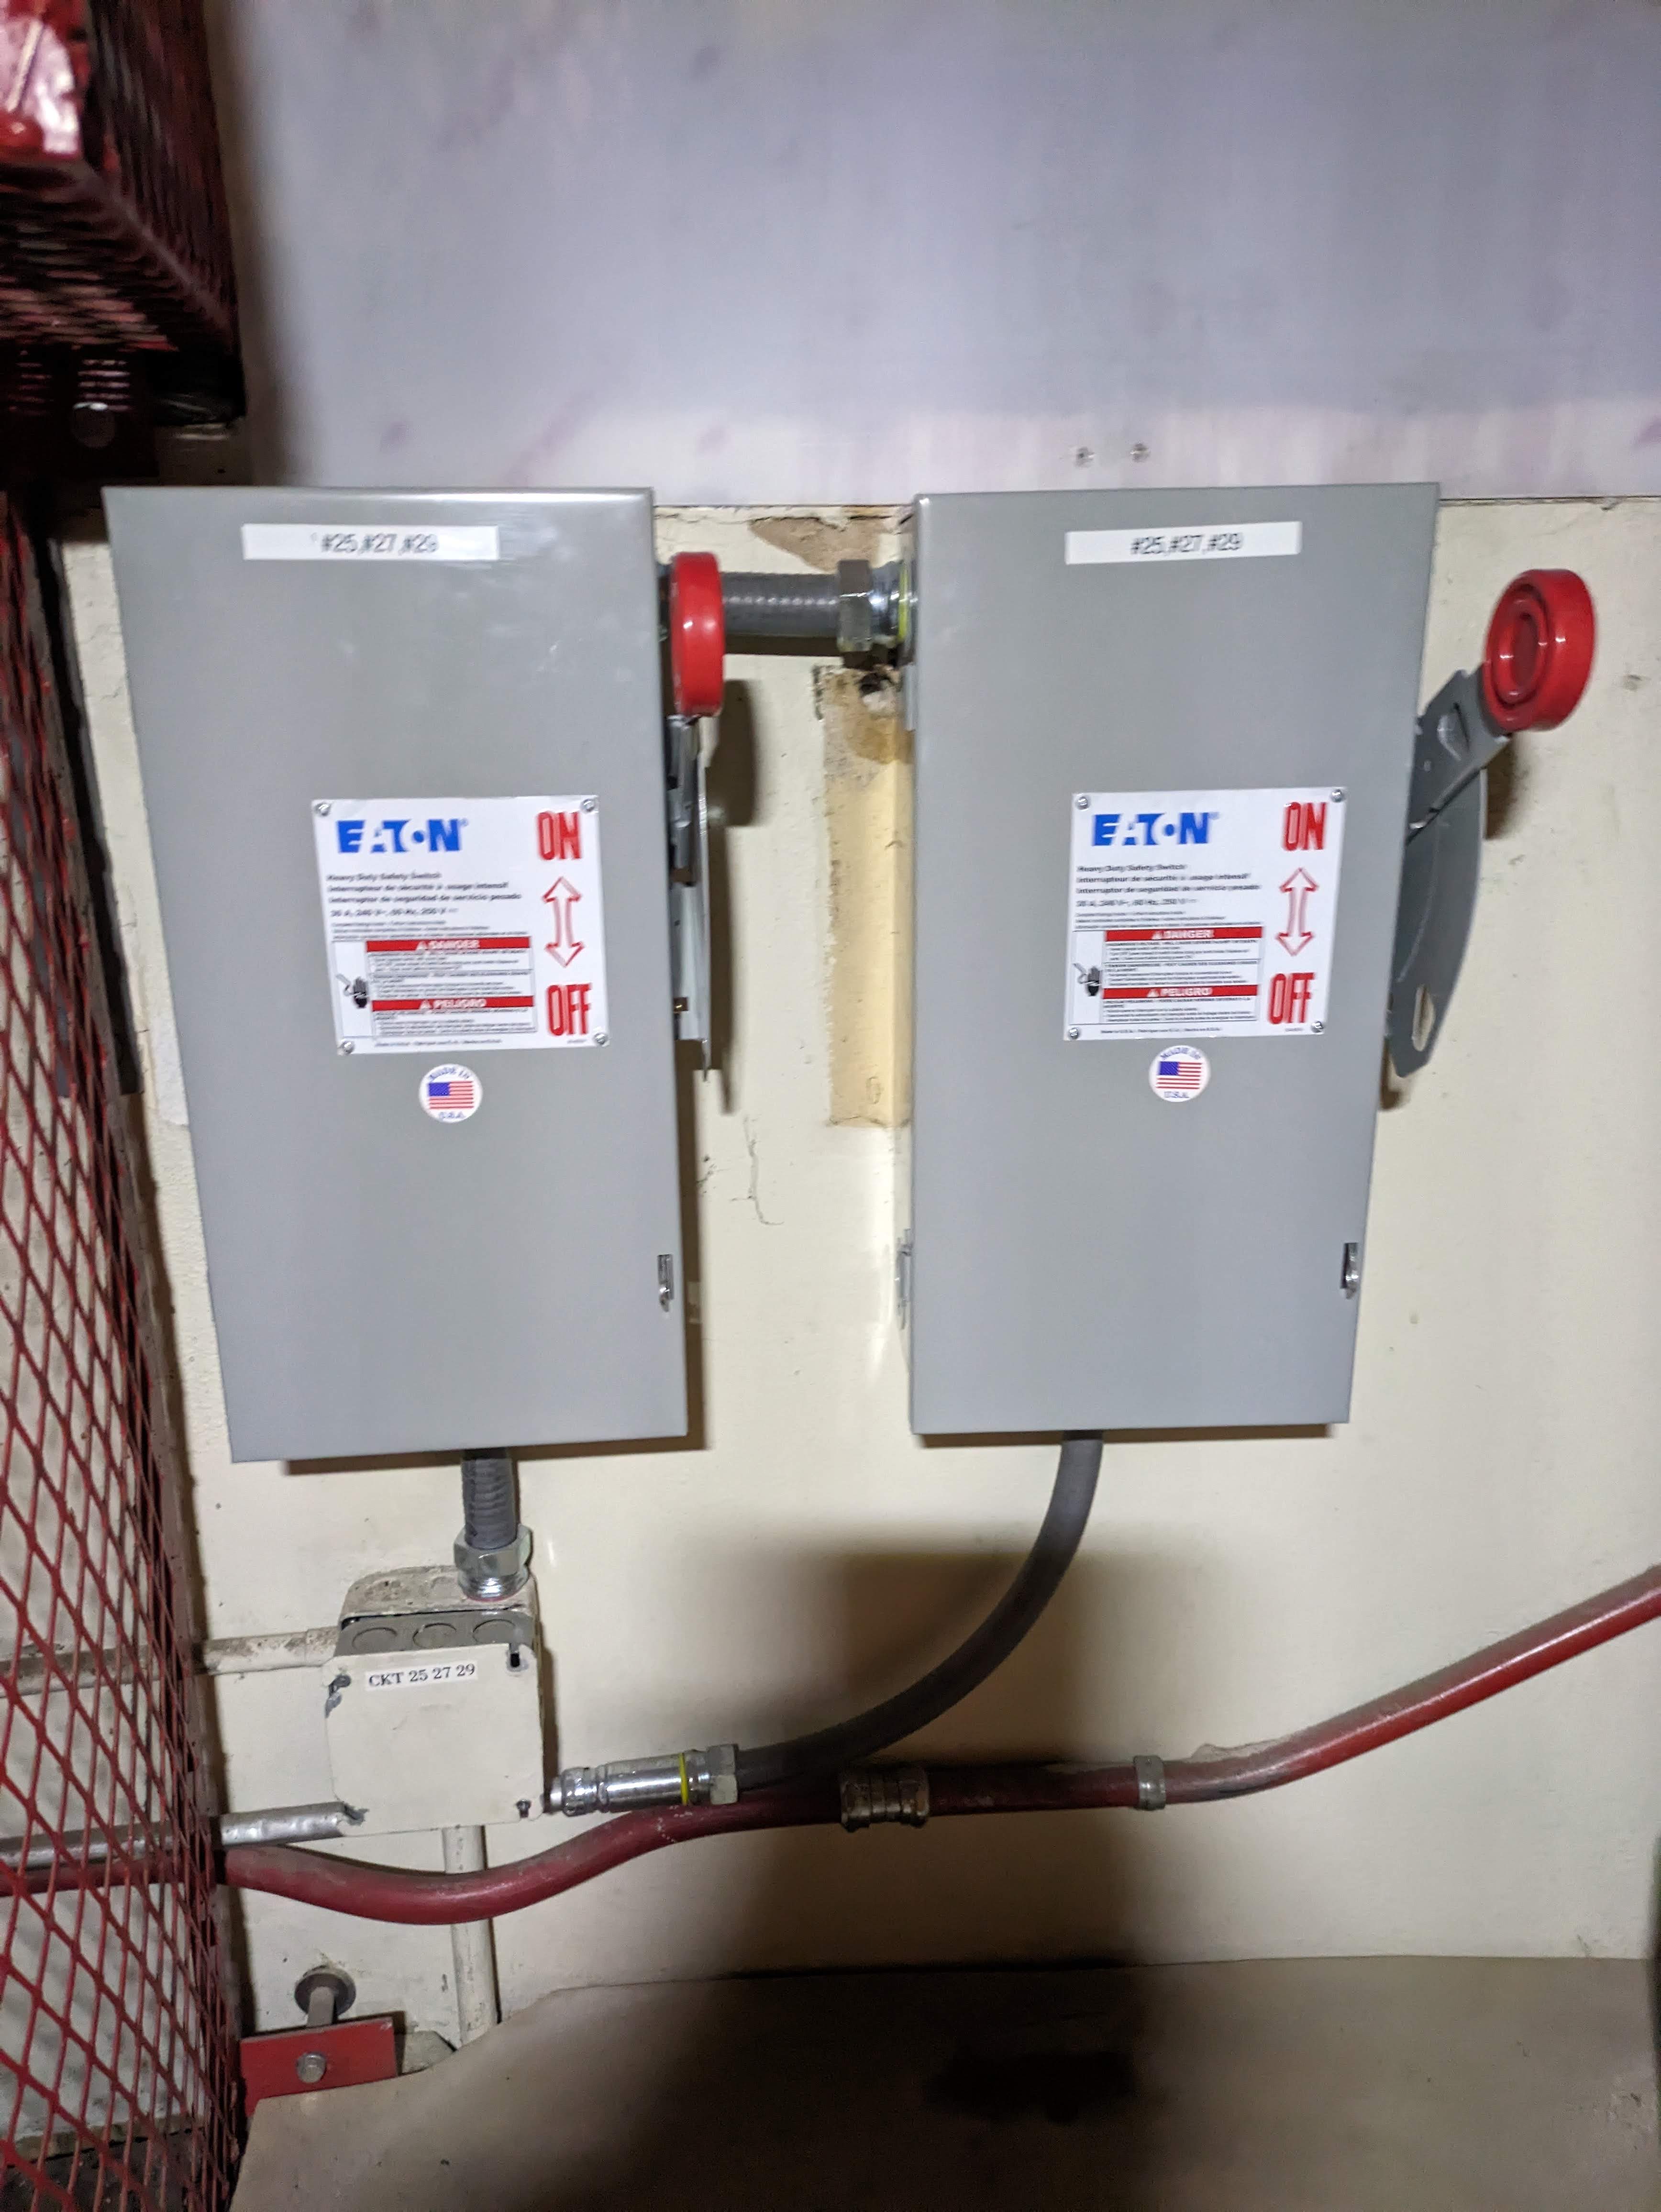
- Turn on main power at the two disconnect switches on the southwest side of the building.
- Plug in blue rack to the west of the operators desk & fan (2 plugs)
- Follow the steps in the Normal Start Up section.
Normal Start Up
- Plug in the twist lock AC power cable to the dome shutter motor on the south wall.
- Switch “dome power” to the ON position at the observatory control box (middle black button) located on the south wall of the dome.
- Open the upper shutter by pressing and releasing the OPEN button on the shutter control box. Be ready to hit the STOP button until the shutter is fully open. When the dome is stowed, this box is to the south.
- Switch “telescope power” to the ON position at the observatory control box located on the south wall of the dome.
- Switch “dome control” to the remote position on the observatory control box on the south wall.
- Unplug the twist lock AC power cable to the dome shutter motor on the south wall (or the dome won't move).
- Power on the Xephem computer in the blue rack behind the operators table.
- When prompted login as “21inch operator”, password - check your notes. Hit Enter.
- Open the mirror covers using the handles on the side of the telescope (in the correct order, south side first then north side).
- Remove video camera finder scope lens cap.
- Open large finder scope mirror cover.
- Start INDIserver.
- Start Xephem.
- Start “SafeTelescope” to display enable/disable and cancel functions.
- Turn on black video finder monitor.
- Record weather conditions before you start observing so you can complete the trouble report later. Record the time you opened the dome, temperature, wind speed/direction, humidity, and your best guess at seeing conditions.
- Decide if you want to use the 2” or 1.25” eyepiece adapter, screw it in the telescope, and choose the appropriate eyepieces. These items are stored in the blue cabinet behind the observers table.
Starting Xephem
- In the Xephem window that opened, click the small “RT” button in the lower right hand corner of the window under looping.
- Click the View tab at the top of the window, and select Sky View.
- Click the Telescope tab in the Sky View window and select INDI panel.
- In the INDI panel window, expand the TCS-NG-INDI module.
- Once in that module:
- Telemetry ⇒ Connection ⇒ On
- Actions ⇒ Enable; this enables the telescope, and allows you to use the paddle on the bottom of the scope.
- Note red light next to Actions tab turns green.
Using Catalogs for Observing
Selecting a catalog
- In Xephem Main Window
- Data ⇒ Files
- The Files window will pop up you can add catalogs in the “Files” menu and remove them with the “Delete” button. FK5 stars are the bright stars you will use for initializing.
- Catalogs in list form
- In Xephem Main Window
- Data Menu ⇒ Index
- The Index window will pop up. You can select an object by name.
- If you click Telescope GoTo the “Next” coordinates will be populated in the Indi Panel
- You can then click Go Next to move to that object.
- To use the search function you must type in the name of the object exactly or it will return no results.
Initializing the Telescope
It is highly recommended that you initialize before observing.
- The telescope should be pointed at zenith.
- Make sure telescope is enabled.
- Send the scope to a bright star close to the zenith, referring to the “Ways to Move” section below.
- Using the hardware paddle in the dome, get the star in focus, then center the star in the video finder scope first if you cannot see the star in one of the finderscopes attached to the telescope. If you can see the star in one of the finderscopes, center it in that field of view. Last center it in the FOV of the eyepiece.
- In the “Actions” menu under TCS-NG-INDI click “Init Next”.
- Don't Click “Init Commanded”
Ways to move
- With the Sky View window
- Right click on desired object
- Click Telescope GoTo
- The coordinates should populate in the NEXT line of TCS telemetry
- Under “Actions” in the TCS-NG-INDI panel, click “Go Next”
- When moving with the Sky View window or entering Equatorial coordinates, the telescope will start tracking automatically
- Equatorial Coordinates
- In INDI control panel
- Under TCS-NG-INDI
- GoTo Functions
- Enter desired RA, Dec and Epoch
- Click “set” or hit the enter key
- Then under “Actions” hit “Go Next”
- When moving with the Sky View window or entering Equatorial coordinates, the telescope will start tracking automatically
- Alt/Az Coordinates
- In INDI control panel
- Under TCS-NG-INDI
- GoTo Functions ⇒ AltAz GoTo
- Enter the desired Altitude and Azimuth
- Click “set” or hit the enter key
- Note: The telescope will start moving after you click Set or hit Enter. There is no Go Next button for Alt/Az positions. Tracking does not start automatically.
Normal Shutdown
- Stow the telescope. TCS-NG-INDI ⇒ Goto Functions ⇒ Stow
- Close the telescope mirror covers (in the correct order - north first, then south)
- Close large finder scope mirror cover
- Place lens cap on video finder scope
- Put away eyepieces
- Stow the dome. Use the hand paddle to center the shutter over the eastern dome rotation wheel above the main entry door to the dome.
- Plug in the twist lock AC power cable to the dome shutter motor on the south wall.
- Close the shutter by pressing and releasing the CLOSE button on the shutter control box. Be ready to hit the STOP button until the shutter is fully closed. When the dome is stowed, this box is to the south.
- Unplug the twist lock AC power cable to the dome shutter motor on the south wall.
- Disable telescope in Xephem's INDI panel.
- Close Xephem.
- Fill out and send a 21” Trouble Report even if there weren't any problems during the night!
- Check the weather using the UA Department of Atmospheric Sciences and NOAA webpages.
- Record the time you closed the dome, temperature, windspeed/direction, humidity, your best guess at the seeing conditions.
- Send the trouble report by using the desktop icon.
- Close all other open applications, windows, etc.
- Shutdown the NGTCS computer in blue rack behind the operators table.
- Turn off black video monitor
- Switch “telescope power” to the OFF position at the observatory control box located on the south wall of the dome.
- Switch “dome power” to the OFF position at the observatory control box (middle black button) located on the south wall of the dome.
- Switch “dome control” to the local position on the observatory control box.
Lightning Shutdown
- Follow the steps in the Normal Shutdown section.
- Unplug blue rack and fan (2 plugs) behind the operators table.
- Turn off the main power at the two white breakers on the southwest side of the building.
