How the Optical Tape and Read Heads Work
The optical tapes on the axes of the Schulman Telescope are the most precious and delicate parts of the system. They should be protected at all times and maintained with great care. The optical tape and read heads are exposed on the RA axis for this system. A Plexiglas shield offers some protection for the tape from accidental collisions and debris. There does exist a cover designed for the RA axis; but it was determined that a darkened enclosure increases the instances of attracting moths to reside in this area and ultimately dirty the tape (Usually by their untimely demise by being pressed and extruded through the roller bearings). Leaving the tape exposed to light has minimized downtime due to moths by nearly 90%. This comes at a price. Condensation and other environmental effects do occasionally render parts of tape unreadable by the read heads.


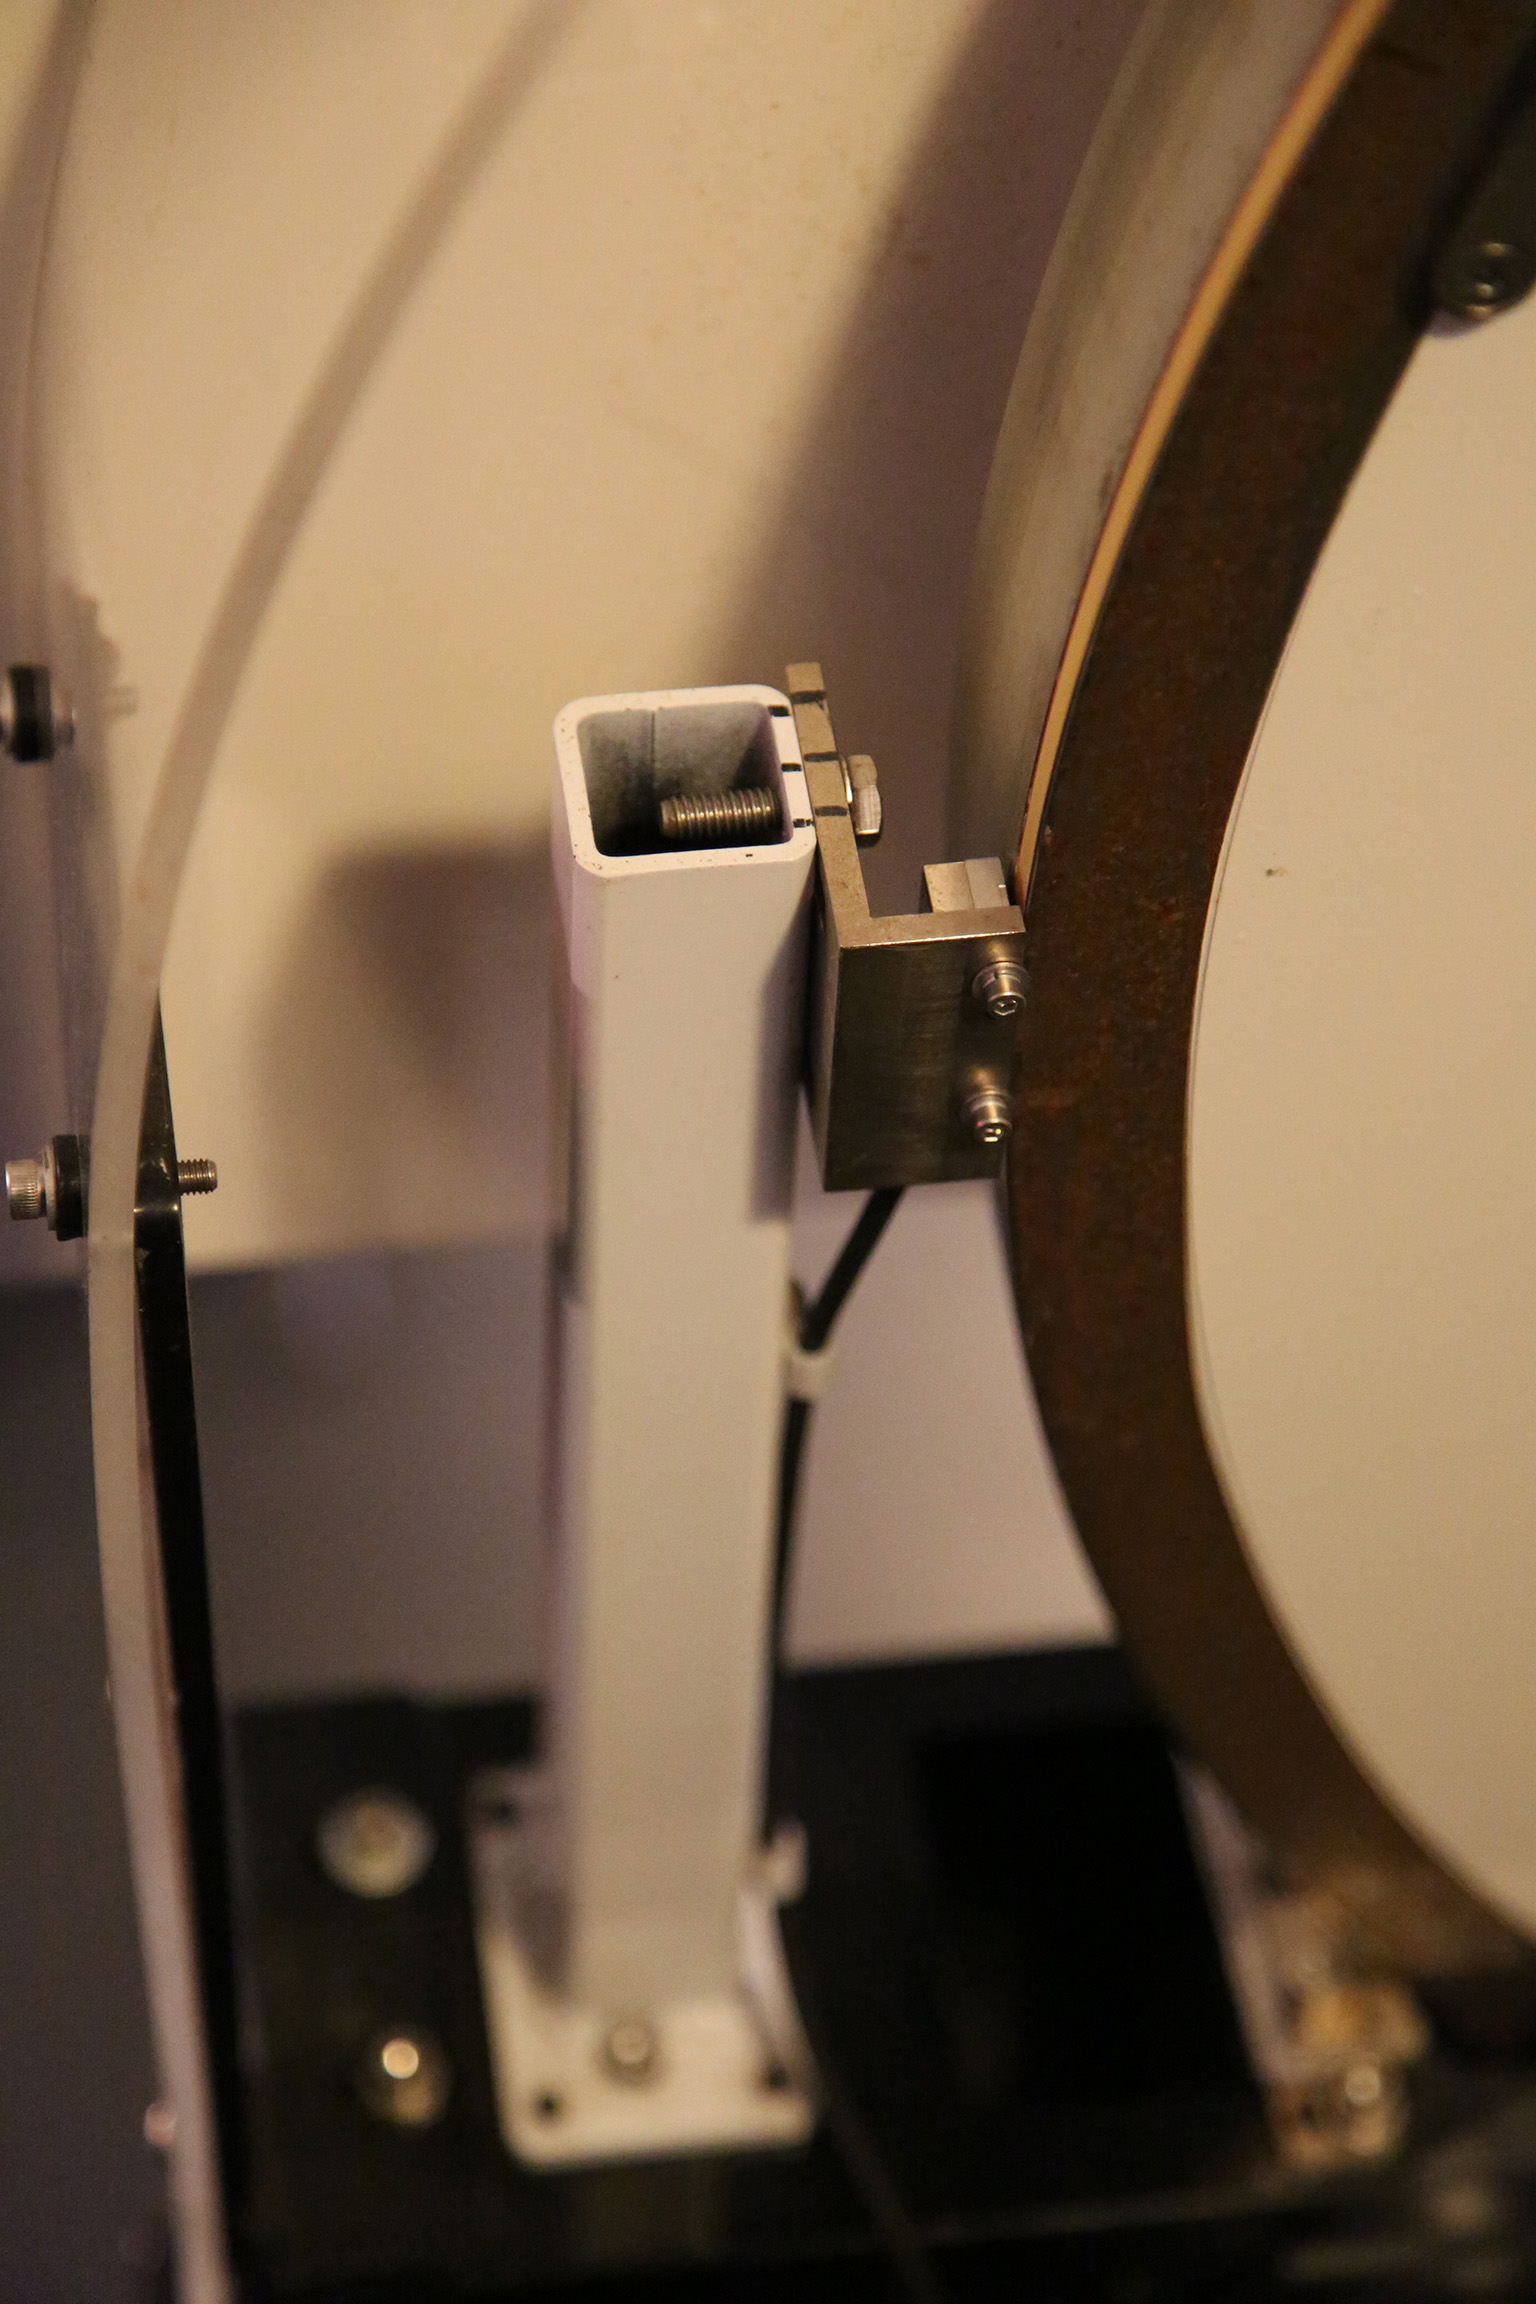
The read heads for the RA axis are atop stalks that terminate very close to the surface of the optical tape. The tape needs to be both clean and aligned with the read head window in order for the reflected (IR) signal from the read head to be registered with good fidelity. There are two read heads which used to operate simultaneously in order to reduce eccentricity of the RA axis. However it was quickly determined that two operational read heads also double the failure events since either one can have an issue. In 2014 the system was converted to a single read head configuration. Currently the West read head is active. Should there be an issue with the West read head (or side of the tape) switching to the East read head is possible. Access the panel on the East side to swap the cables.
Behavior of Telescope with Optical Tape Blots

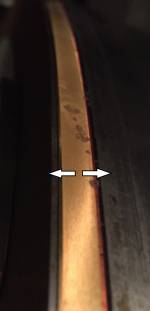
Should the read head encounter a blot or dark mark on the optical tape several different things can happen. If the mark is small (see several small blots in the picture above) the most common issue is a loss of counts. As the read head passes over the blot nothing will be recorded in terms of position. Of course the telescope has moved through the angle of the blot and so a pointing error will occur. A 1 centimeter (linear) blot can cause a pointing error of a degree or more. A 5 millimeter blot can certainly put objects out of the field of view. Thus there are a few things to note:
- If the pointing error is only in the RA axis and not Declination, a very good guess is that there is a blot on the RA optical tape.
- When moving through a blot an offset is introduced to create the pointing error. Pointing the telescope at the previous object (that was centered before the issue) and having it be centered again is another clue that the problem is with a blot on the optical tape. (The offset is zeroed out when it moves back through the blot coming from the opposite direction.)
Faults

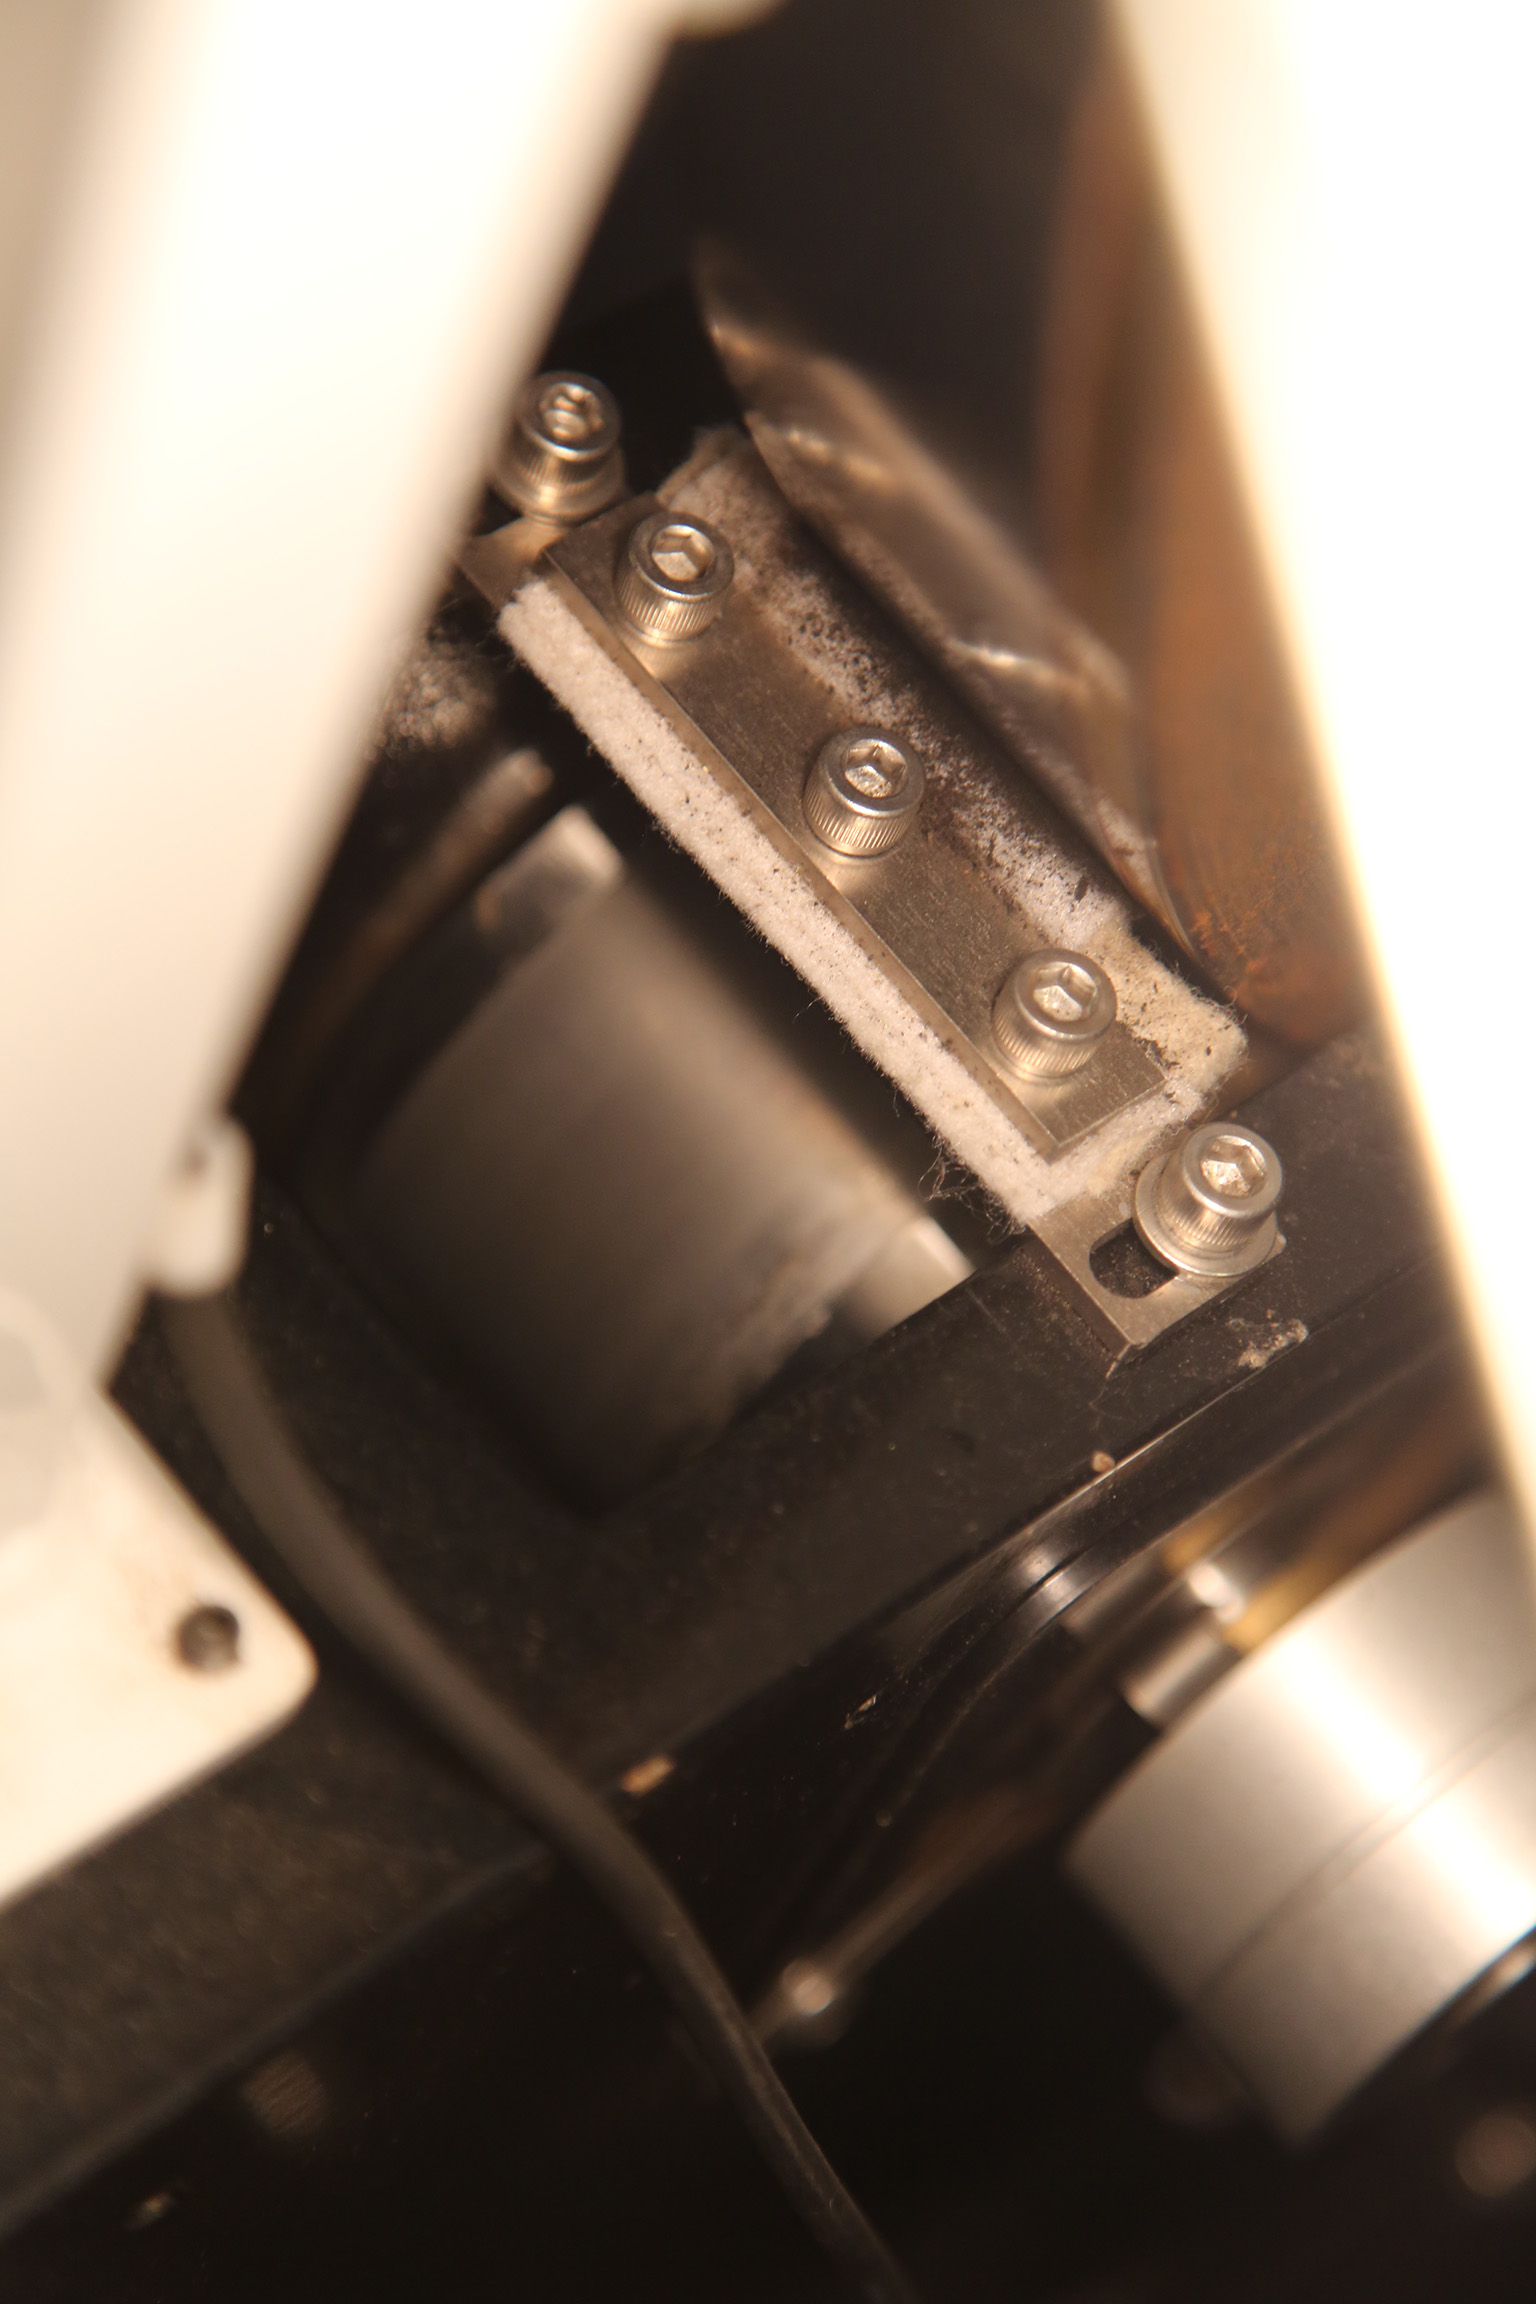
If the blots are large enough or partially obscure the optical tape a drive fault may be triggered (see the smeared moth remains above). The drives might receive nonsensical position and velocity information which faults the drives and stops the system. This is particularly annoying if a moth is smeared on to the optical tape at some point during the night. A patch of goo such as this will not permit the telescope to be homed easily (if at all)- which is a show-stopper for remote or automated observing. It is safe to assume that any blots on the tape were transferred from the roller bearings and they need to be cleaned in addition to the tape.
Cleaning the Optical Tape (RA)
Prepare to clean the tape by gathering isopropyl alcohol and Tek wipes. A flash light or other bright source of light might also be helpful. Remember when walking around the telescope to avoid stepping (or tripping over) cables and wires. Do not bump or adjust the read head!
- If the telescope is in a fault state the telescope will move freely by hand. This will allow the inspection of the entire tape. If the servos are still holding the telescope (and there are no faults) the inspection of the tape can be made by moving in hour angle using the LCOGT GUI or by using the paddle (more difficult).
- Inspect the roller bearings and wipers for additional sources of gunk.
- Clean the roller bearings. Move the telescope to access the full circumference of the bearing. Use extreme care when sticking your fingers into this area to clean. It may be possible to pinch fingers in this area of moving parts. (Make certain you are in control of the telescope while cleaning.) A Tek wipe wetted with alcohol should clean the surface nicely.
- Next clean the blots on the tape with a Tek wipe wetted with alcohol.
- Gently dab the soaked wipe on blot to help dissolve it.
- Using very light pressure (little more than its own weight) swipe the wipe perpendicular to optical tape across its shortest dimension (see picture) clean blots.
- If there are bug parts trapped between the read head and optical tape, slide a wetted Tek wipe between the two surfaces to clean the read head window.
- Once the optical tape and bearing rollers are clean, home the telescope and continue to observe.

As part of regular maintenance (perhaps once a year) the optical tape wipers should be replaced with new material.
