Table of Contents
Schulman Telescope Startup Procedure
Updated 8/25/2023 - Travis Deyoe
The order of operations below is designed for time efficiency. Missing a step could lead to frustration as some steps may feel “out of order” but are designed to reduce down-time waiting for things to power on.
Pre-Startup Checks
Pull Off Tarps
The Telescope, Controller, and desk will always be tarped whenever the telescope is put into Lightning Shutdown. They will need to be removed before inspecting or moving the telescope.
Perform your best interpretive dance to appease the tarp gods. If that does not make the tarp fall off you must remove it manually. Folding it up and placing it to the right of the brown cabinet is a nice touch.
"Park" Telescope
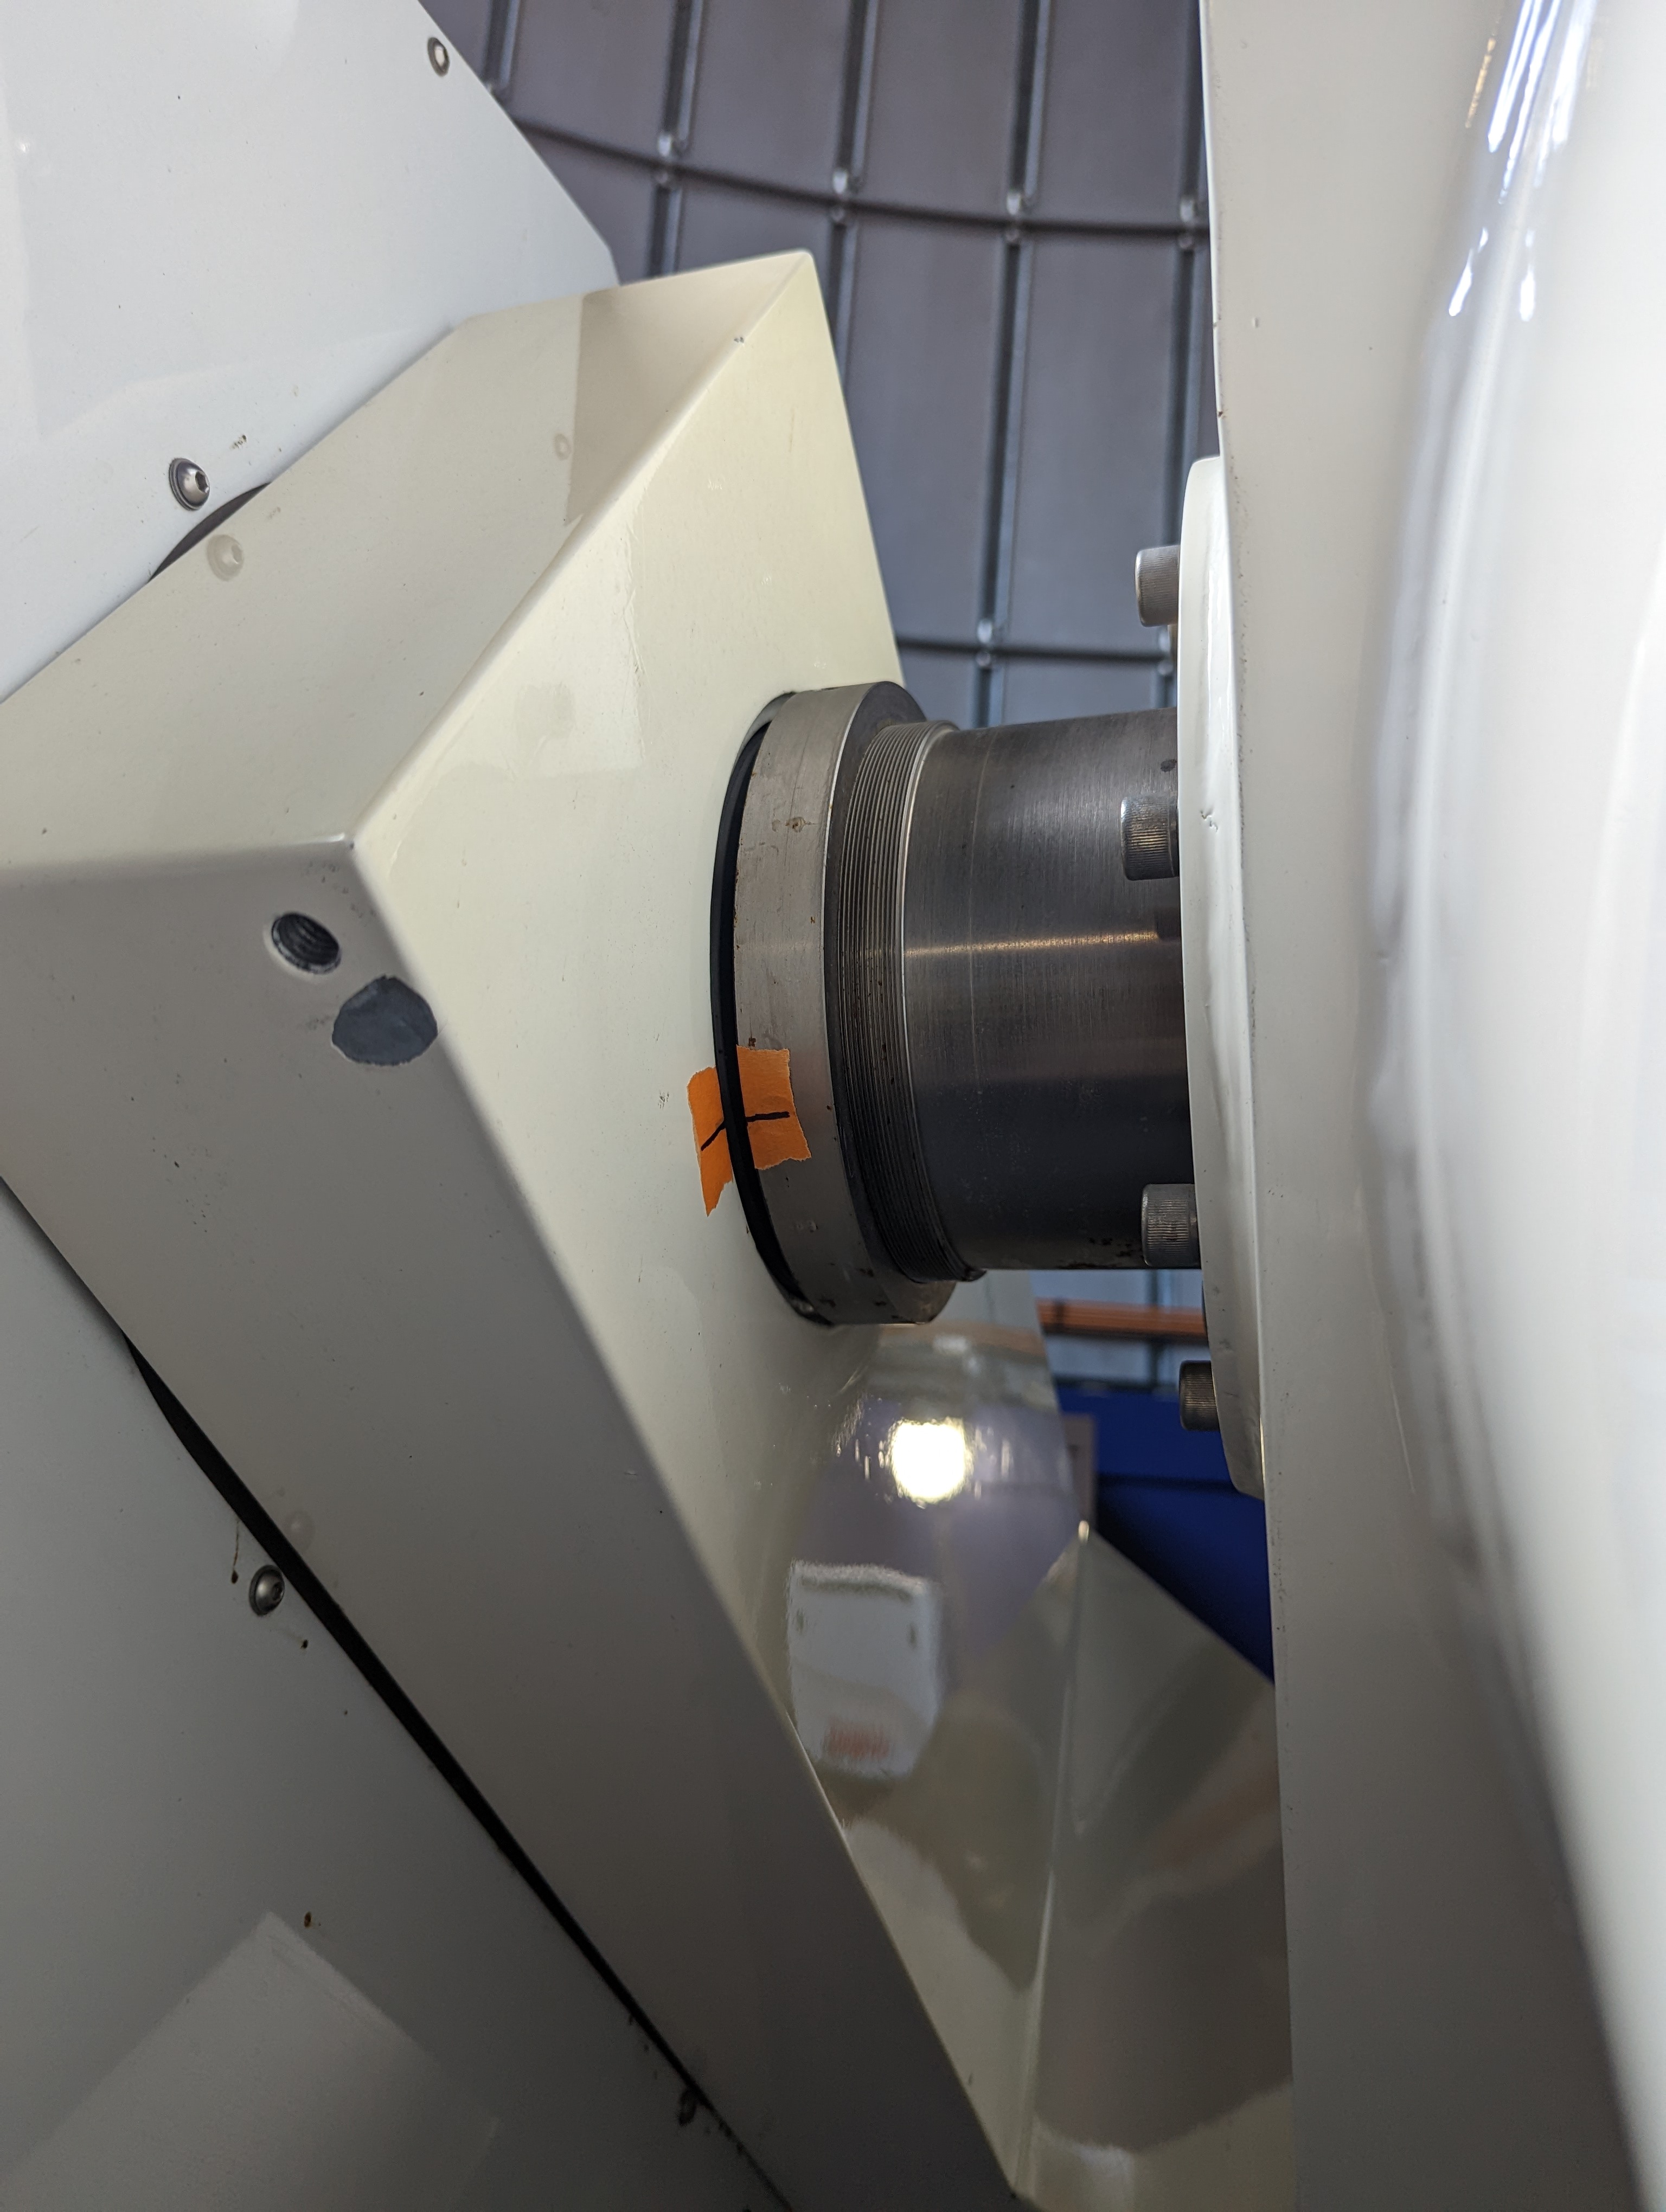
In order to home the telescope correctly it must be started at the Park position (or at least within 10 degrees on both axises). Confirm the park position with the Park Markers located at the base of the telescope (RA) and the fork (Dec, on either side)


Once placed in this position make sure the telescope isn't moving on its own away from that point. If it does it is too far out of balance. Easiest solution is to put it in a balanced configuration. If you are too impatient to do this at this moment you can have a friend do their best impression of Atlas until the Controller is turned on and the drives begin holding the telescope in position.
Check Emergency Stops
If engaged, release any Emergency stops on the Telescope Controller and the MaxDome Controller by pulling them outward. They all appear as big red buttons that scream “PRESS ME IN CASE OF EMERGENCY”.


Check RA Encoder Tape
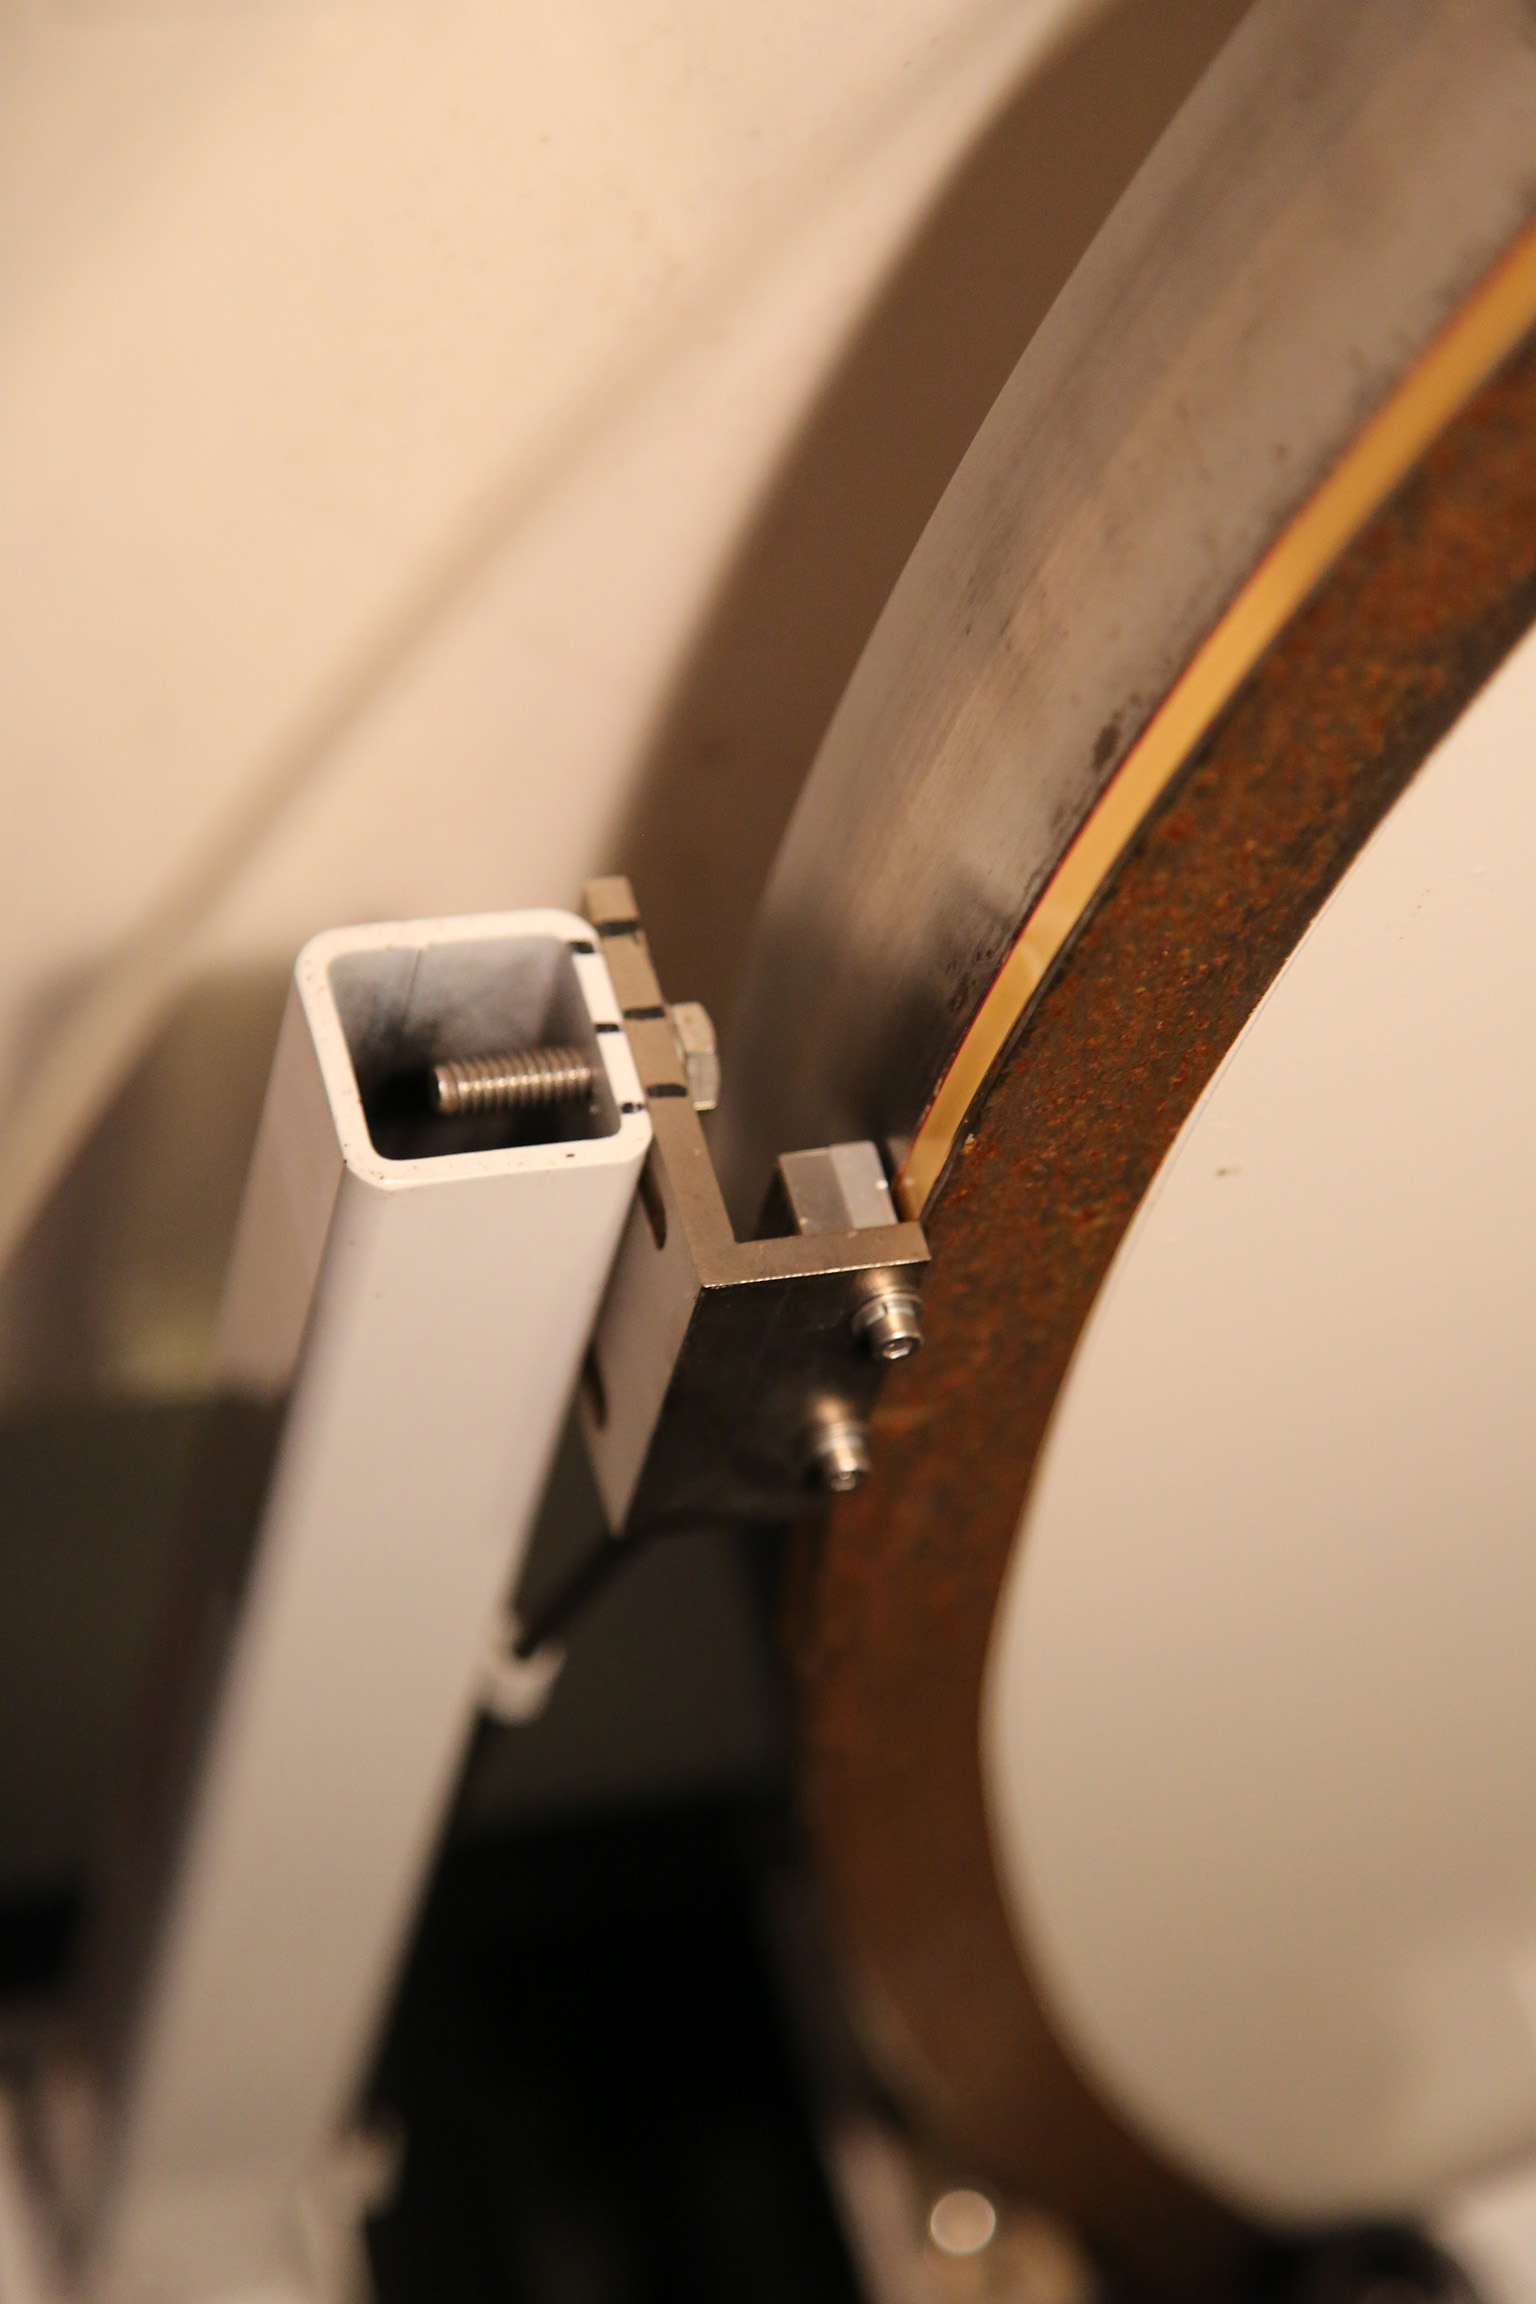
Follow the RA optical tape along the big RA wheel and check for any smudges, bug guts, and so forth. The WEST read head is active while the east read head is not currently utilized, so make sure through the entire motion of the telescope (in RA of course) that there is nothing blocking the reading of the tape on the west side and that there is nothing obstructing the read head's ability to “see” the optical tape.
If anything is observed, use a microfiber cloth or TEX wipe to clean it away. You can use 99% isopropyl alcohol if necessary. Note that you should only wipe along the narrow width NOT along the circumference (or length) of the tape.
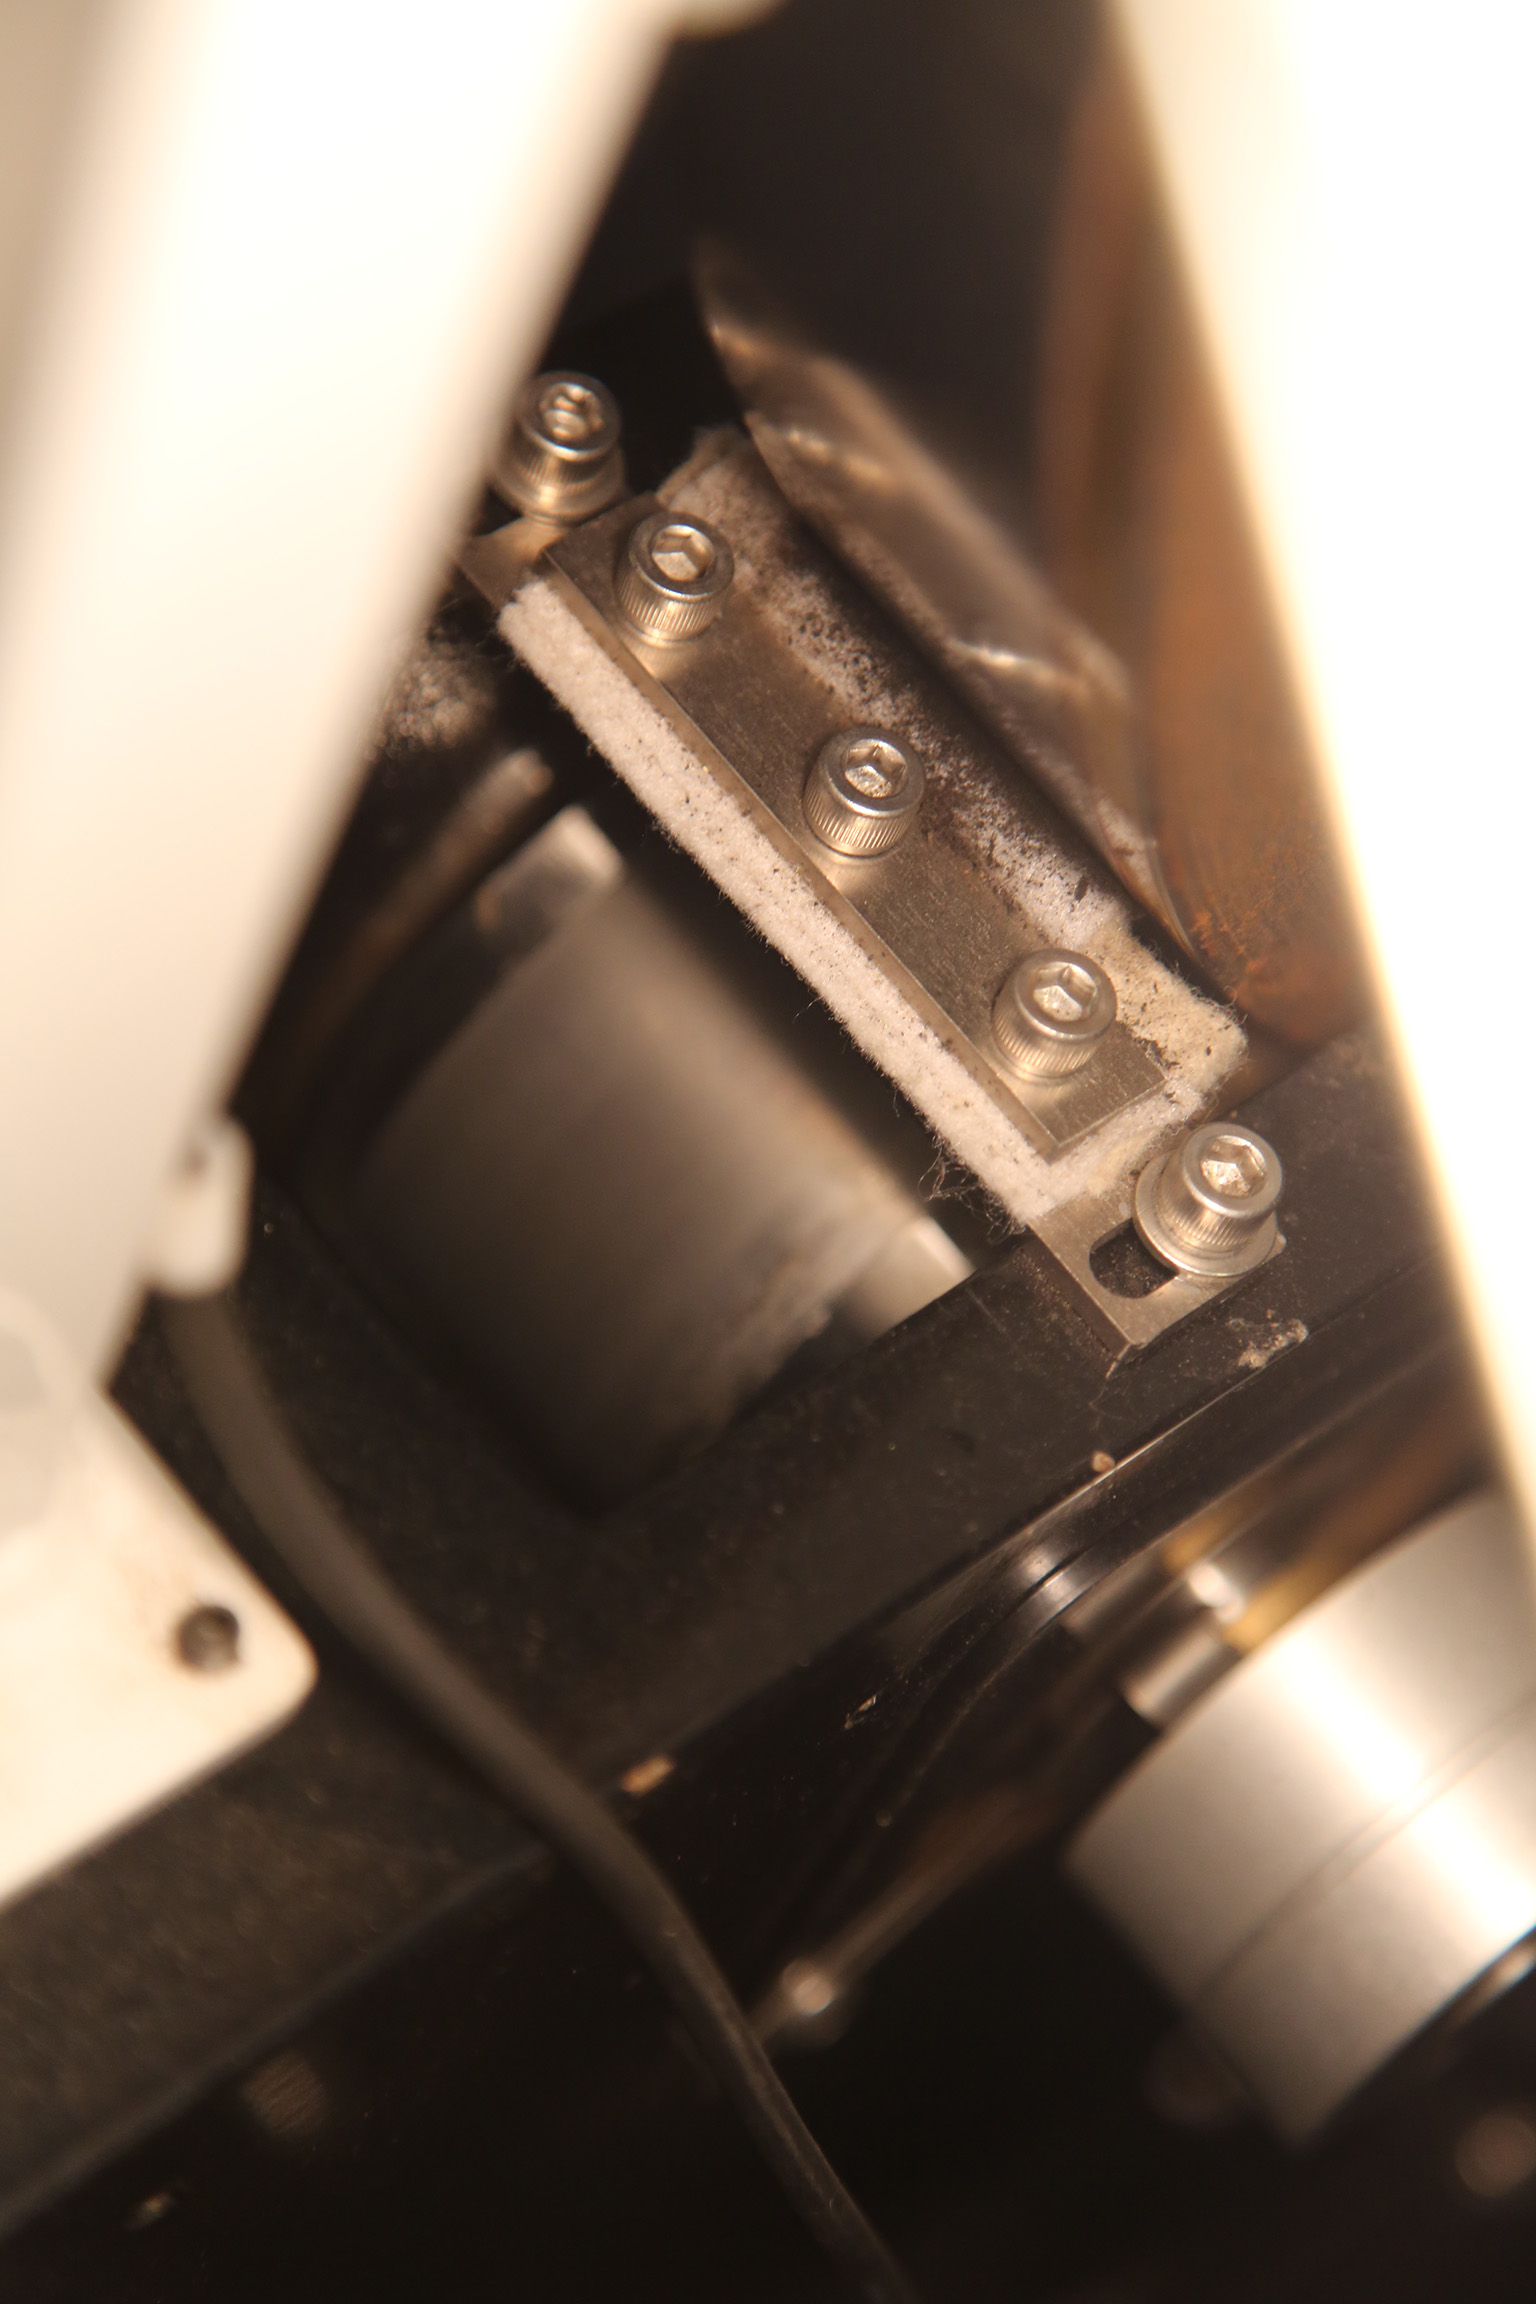
Make certain both the drive and idler bearings are also free of anything that might be transferred to the optical tape. A bit of felt is held in place there that should wipe off anything, but it's best to check still.
Powering Everything On
Now that you have inspected the telescope for safety, it is now time to start turning things on.
Plug in and Power On UPS's
First plug in the big and small UPS's (Uninterruptible Power Supplies) to the left of the desk. The big UPS should be twisted clockwise after insertion in order to secure it in the socket. The big UPS powers the larger controller box on the wall above it, while the small UPS powers basically everything else.


Next you must turn on both UPS's. Press and hold the corresponding “on” button for at least a second until you hear a beep, then let go. For the big UPS this will take a few moments as it cycles through some lights (shown in full in the GIF below). The small UPS will power on quicker.

Both UPS's will immediately supply power to their output plugs, so no further button pressing is necessary.
Power On Controller and Desktop Computer
The big gray box on the wall is the Controller. Turn it on by turning the large red switch on the bottom left of the Controller box to the right (clockwise). Assuming the UPS was powered on in the last step, fans and other noises will be heard as the system comes on.

Now is also when you should turn on the desktop computer. It is under the desk behind the little door on the left. The power button is the same color as the computer case so in a dimly lit room (like it most likely is now without the dome open) you may need a light to find it.
NOTE: The desktop is set to automatically turn on when power is supplied.
Check Controller Ethernet Cable
While the Controller and desktop computer are powering on (the Controller takes about 15 years to do so), go into the warm room. Now go into the closet. There is a gray ethernet cable labelled “Controller.” Plug this into the switch on the right wall and confirm there are happy internet lights on the switch.
Desktop Tasks
Proceed back to the desktop computer, which should be fully powered on. Log in to the computer (standard SkyCenter password). The next few tasks will all be done on this computer.
Open Mirror Covers
Open the RCOS TIM software () from the desktop link or toolbar quick link.
Connect to the TIM unit (by clicking the connect button).
NOTE: If you are unable to connect it most likely means the TIM was turned off. Confirm this via its power switch on the back of the telescope. It is the small gray box directly below the rotator.
Insert TIM Power switch image
Navigate to the “Primary Mirror Cover” tab. Open the mirror covers by clicking the “Open” button. Below is a GIF of the entire process (as it should occur).

NOTE: If the mirror covers aren't opening correctly or the current stays high (over 1000 milliamps) then there is a problem. Abort the opening (or closing). You attempt to open them again but if the problem persists addition help is needed (AKA call Travis or ask Mountain Ops if they are still around).
Connect to the TCS (Telescope Control System)
Launch Maestro4 (![]() ) via its desktop icon or using the start search bar.
) via its desktop icon or using the start search bar.
Homing the Telescope
The telescope is now on and able to slew around the sky but it has no idea where it is. To determine its position in physical space it must be “aligned”.
Click the Last (Unpark) button in the horizontal Alignment tab.

NOTE: Due to some current power problems additional steps are necessary at this time.
In the same Alignment tab, select the Use AZ/Alt radio button.
Type in the following for the two fields below that radio button.
Az: 180:00:00
Alt: 25:00:00
Click the From Az/Alt button and proceed to the next step.

Click the Home Seek in the Alignment tab and then confirm align home by clicking “yes”. The telescope with quickly move west and north a bit and then slowly continue north and east until it hits its home switches. If it does not find the switches it will time out with a warning the the messages field.
**NOTE: If the telescope was not brought up properly or was not in the Park position, it will move quickly move PAST home (because it thinks it is somewhere other than the park position). Cancel the Home Seek and freak out. Call Travis once you calm down a bit or repeats the start up procedure again more slowly.
Normal Startup Operations
You have now successfully pulled the Schulman telescope out of Lightning Shutdown! Congrats. It is now time to start your normal Pre-Observing Procedures to get everything ready for a SkyNights program or remote operation.
