This is an old revision of the document!
Schulman Telescope StartUp Procedure
Check Internet
Go to the warm room closet and check that all internet cables are plugged in. There is one CAT5 cable that goes to the main observatory computer and another that goes directly to the telescope controller. During lightning shutdown these cables are often unplugged. While in the closet check to see that the StarDot video server is healthy.
Power up the Main Observatory Computer and UPS's
Plug in and turn on the small UPS that delivers power to the main computer and telescope services (including the TIM unit via the remotely controlled power outlets). Login to the main Windows user account. This is currently labeled “Adam” and the password is the standard “I8….” Next plug in and turn on the larger telescope controller UPS. (Do not turn on the controller yet.)
Interpret the Telescope Orientation and Clear Manual E-stops
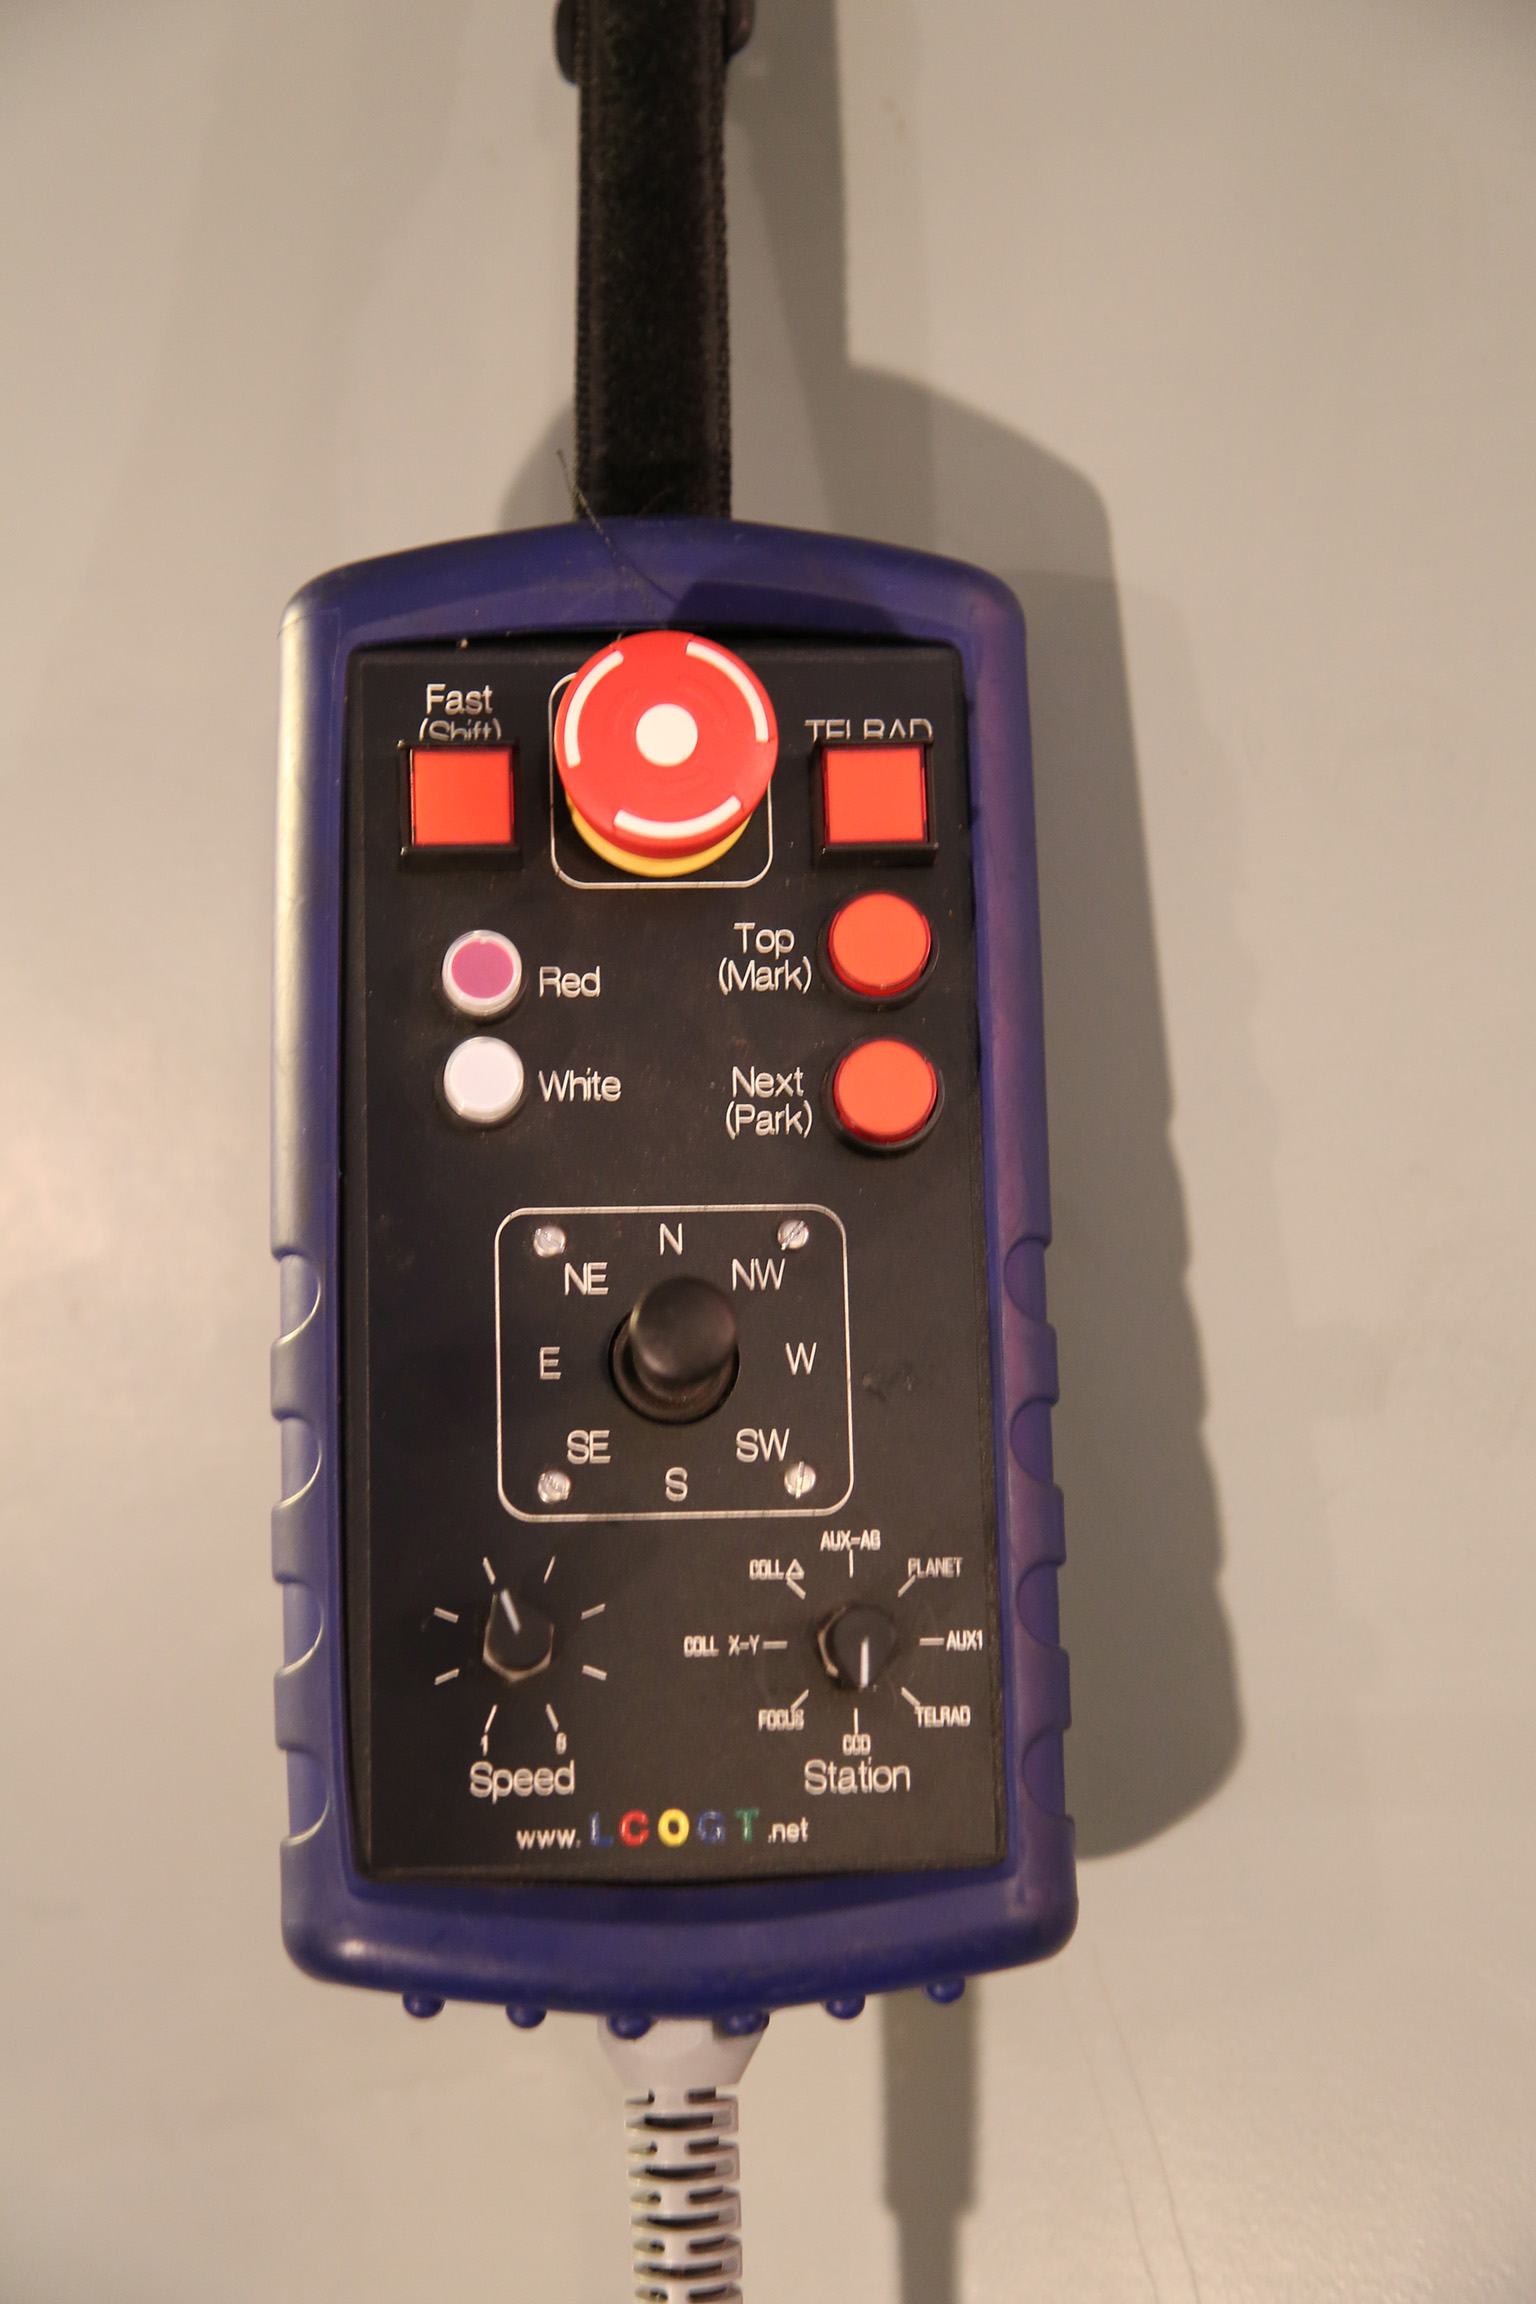
Check the Telescope Orientation and assess the condition of the telescope. If the current position does not “make sense,” consider investigating further before proceeding. If engaged, release any E-stops on the hand paddle, telescope controller, and dome controller. Although it should be in operable state by default, also check the upper shutter E-stop plunger by visual inspection. If this is inadvertently left pushed in it must be released or software shutter errors will follow. The key should be turned to the “on” position.
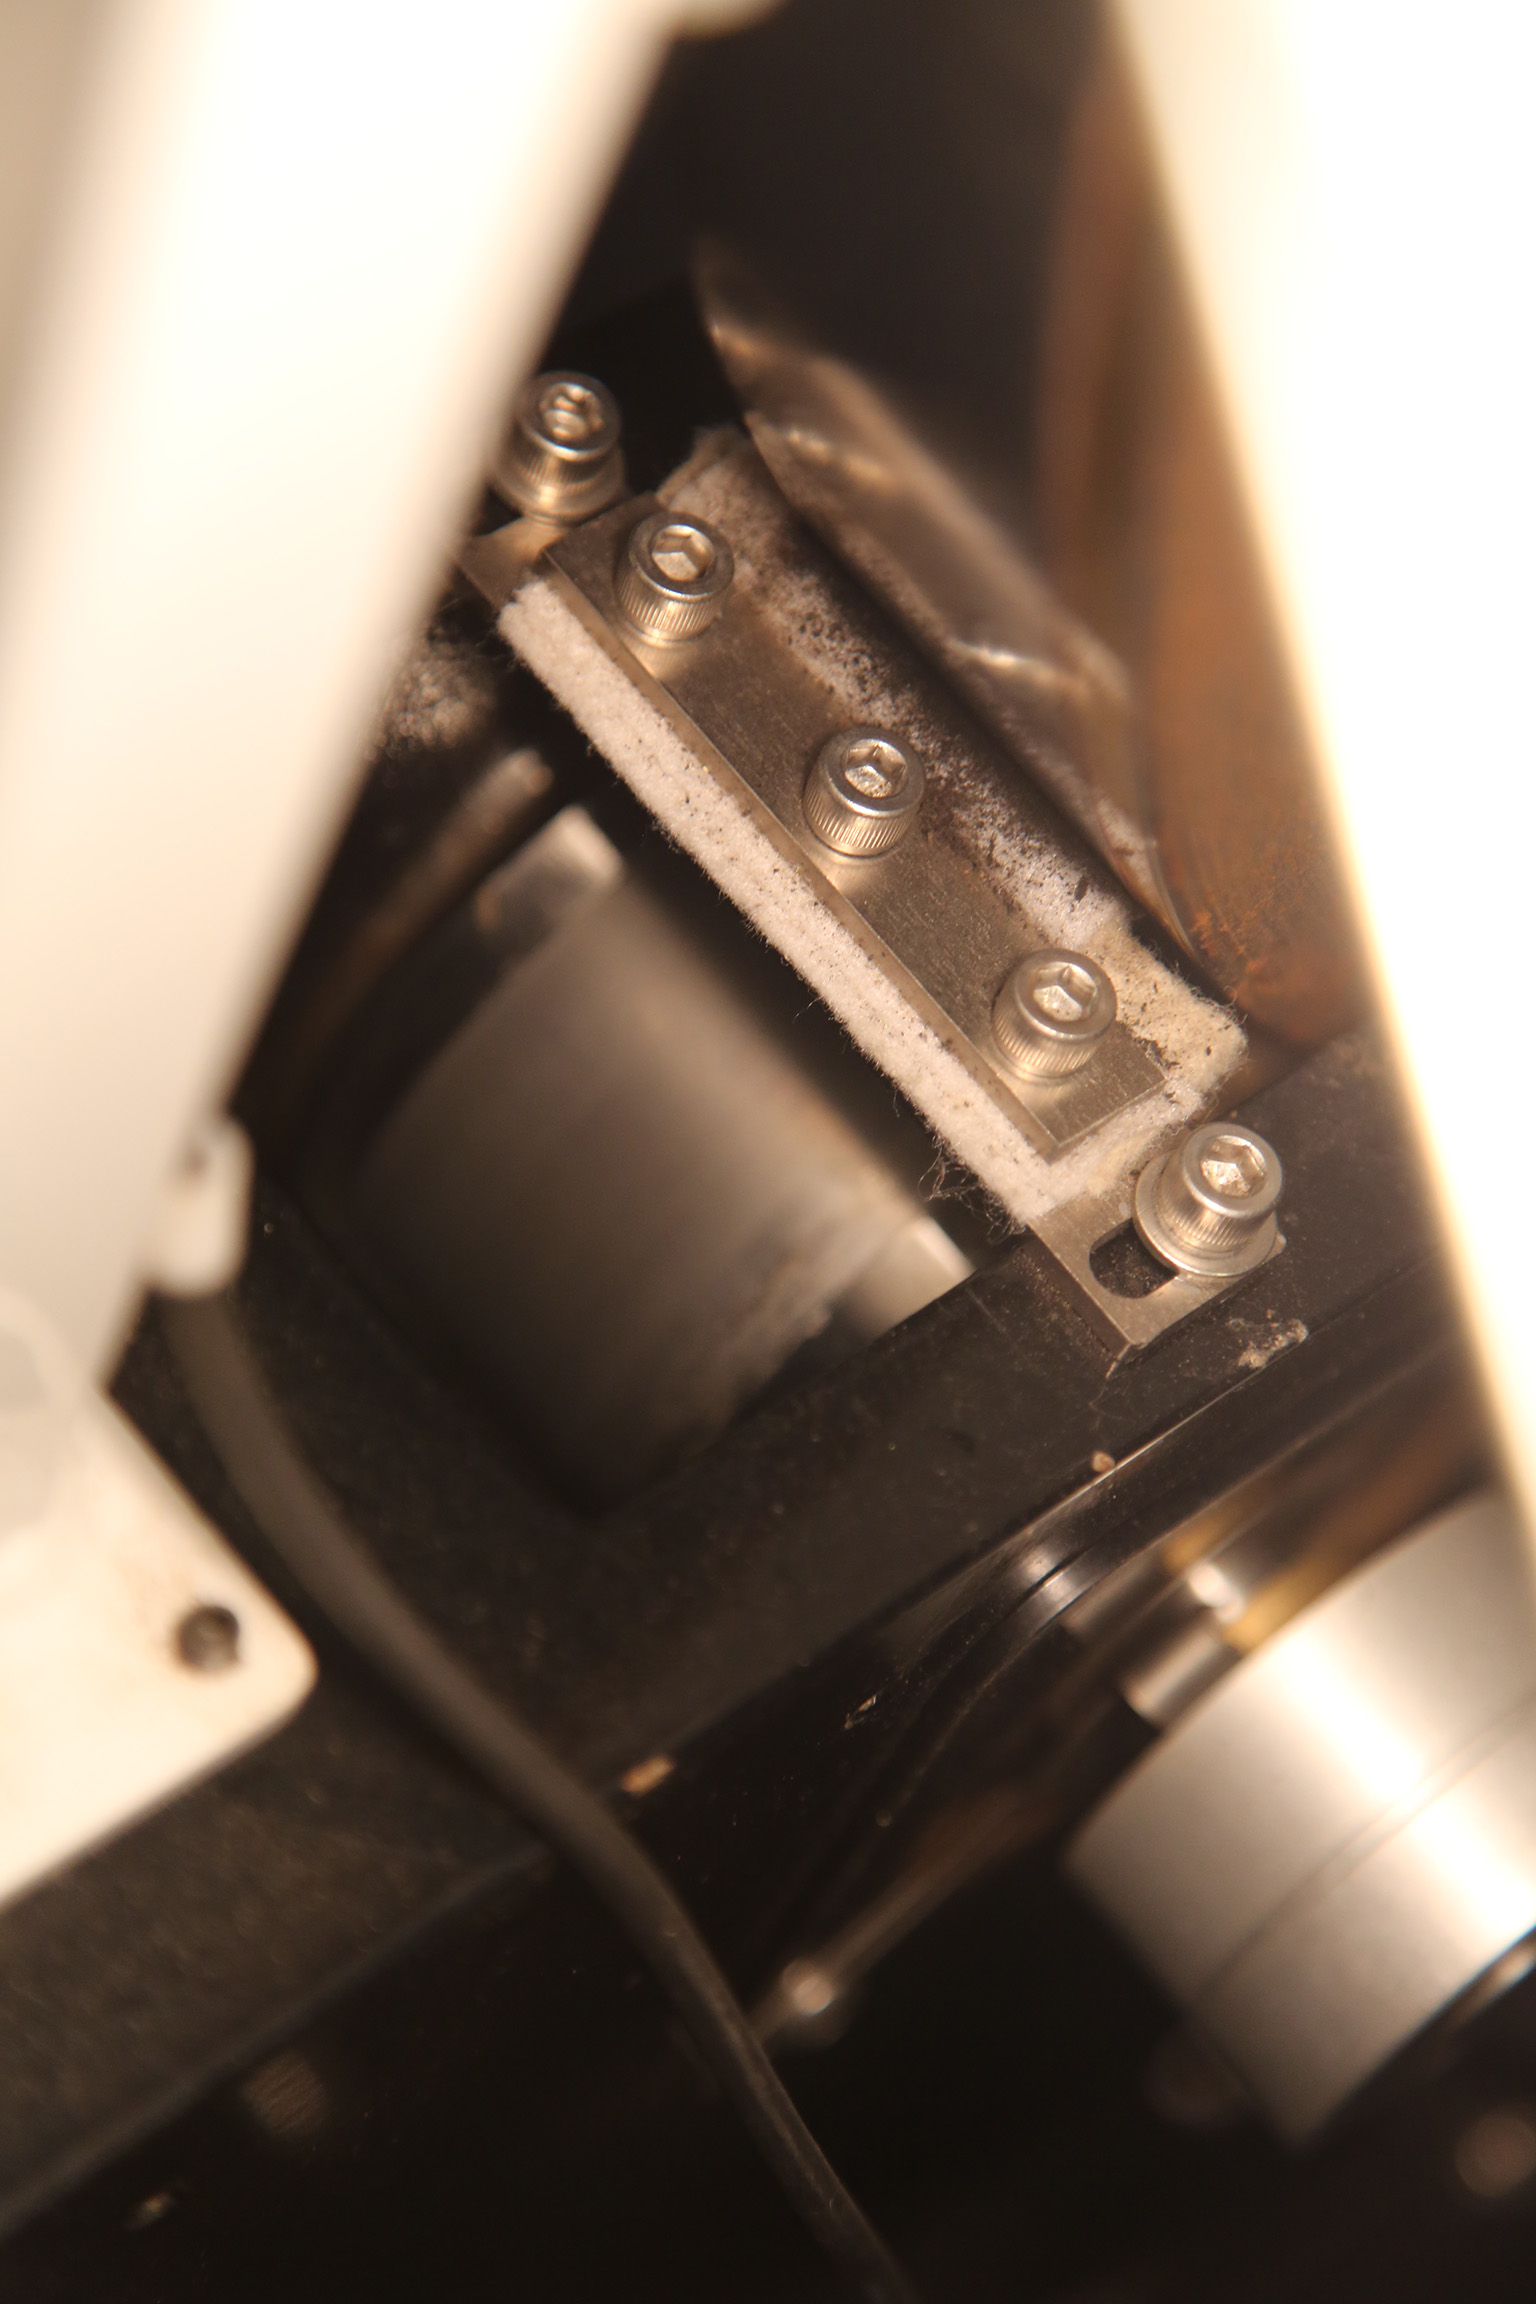
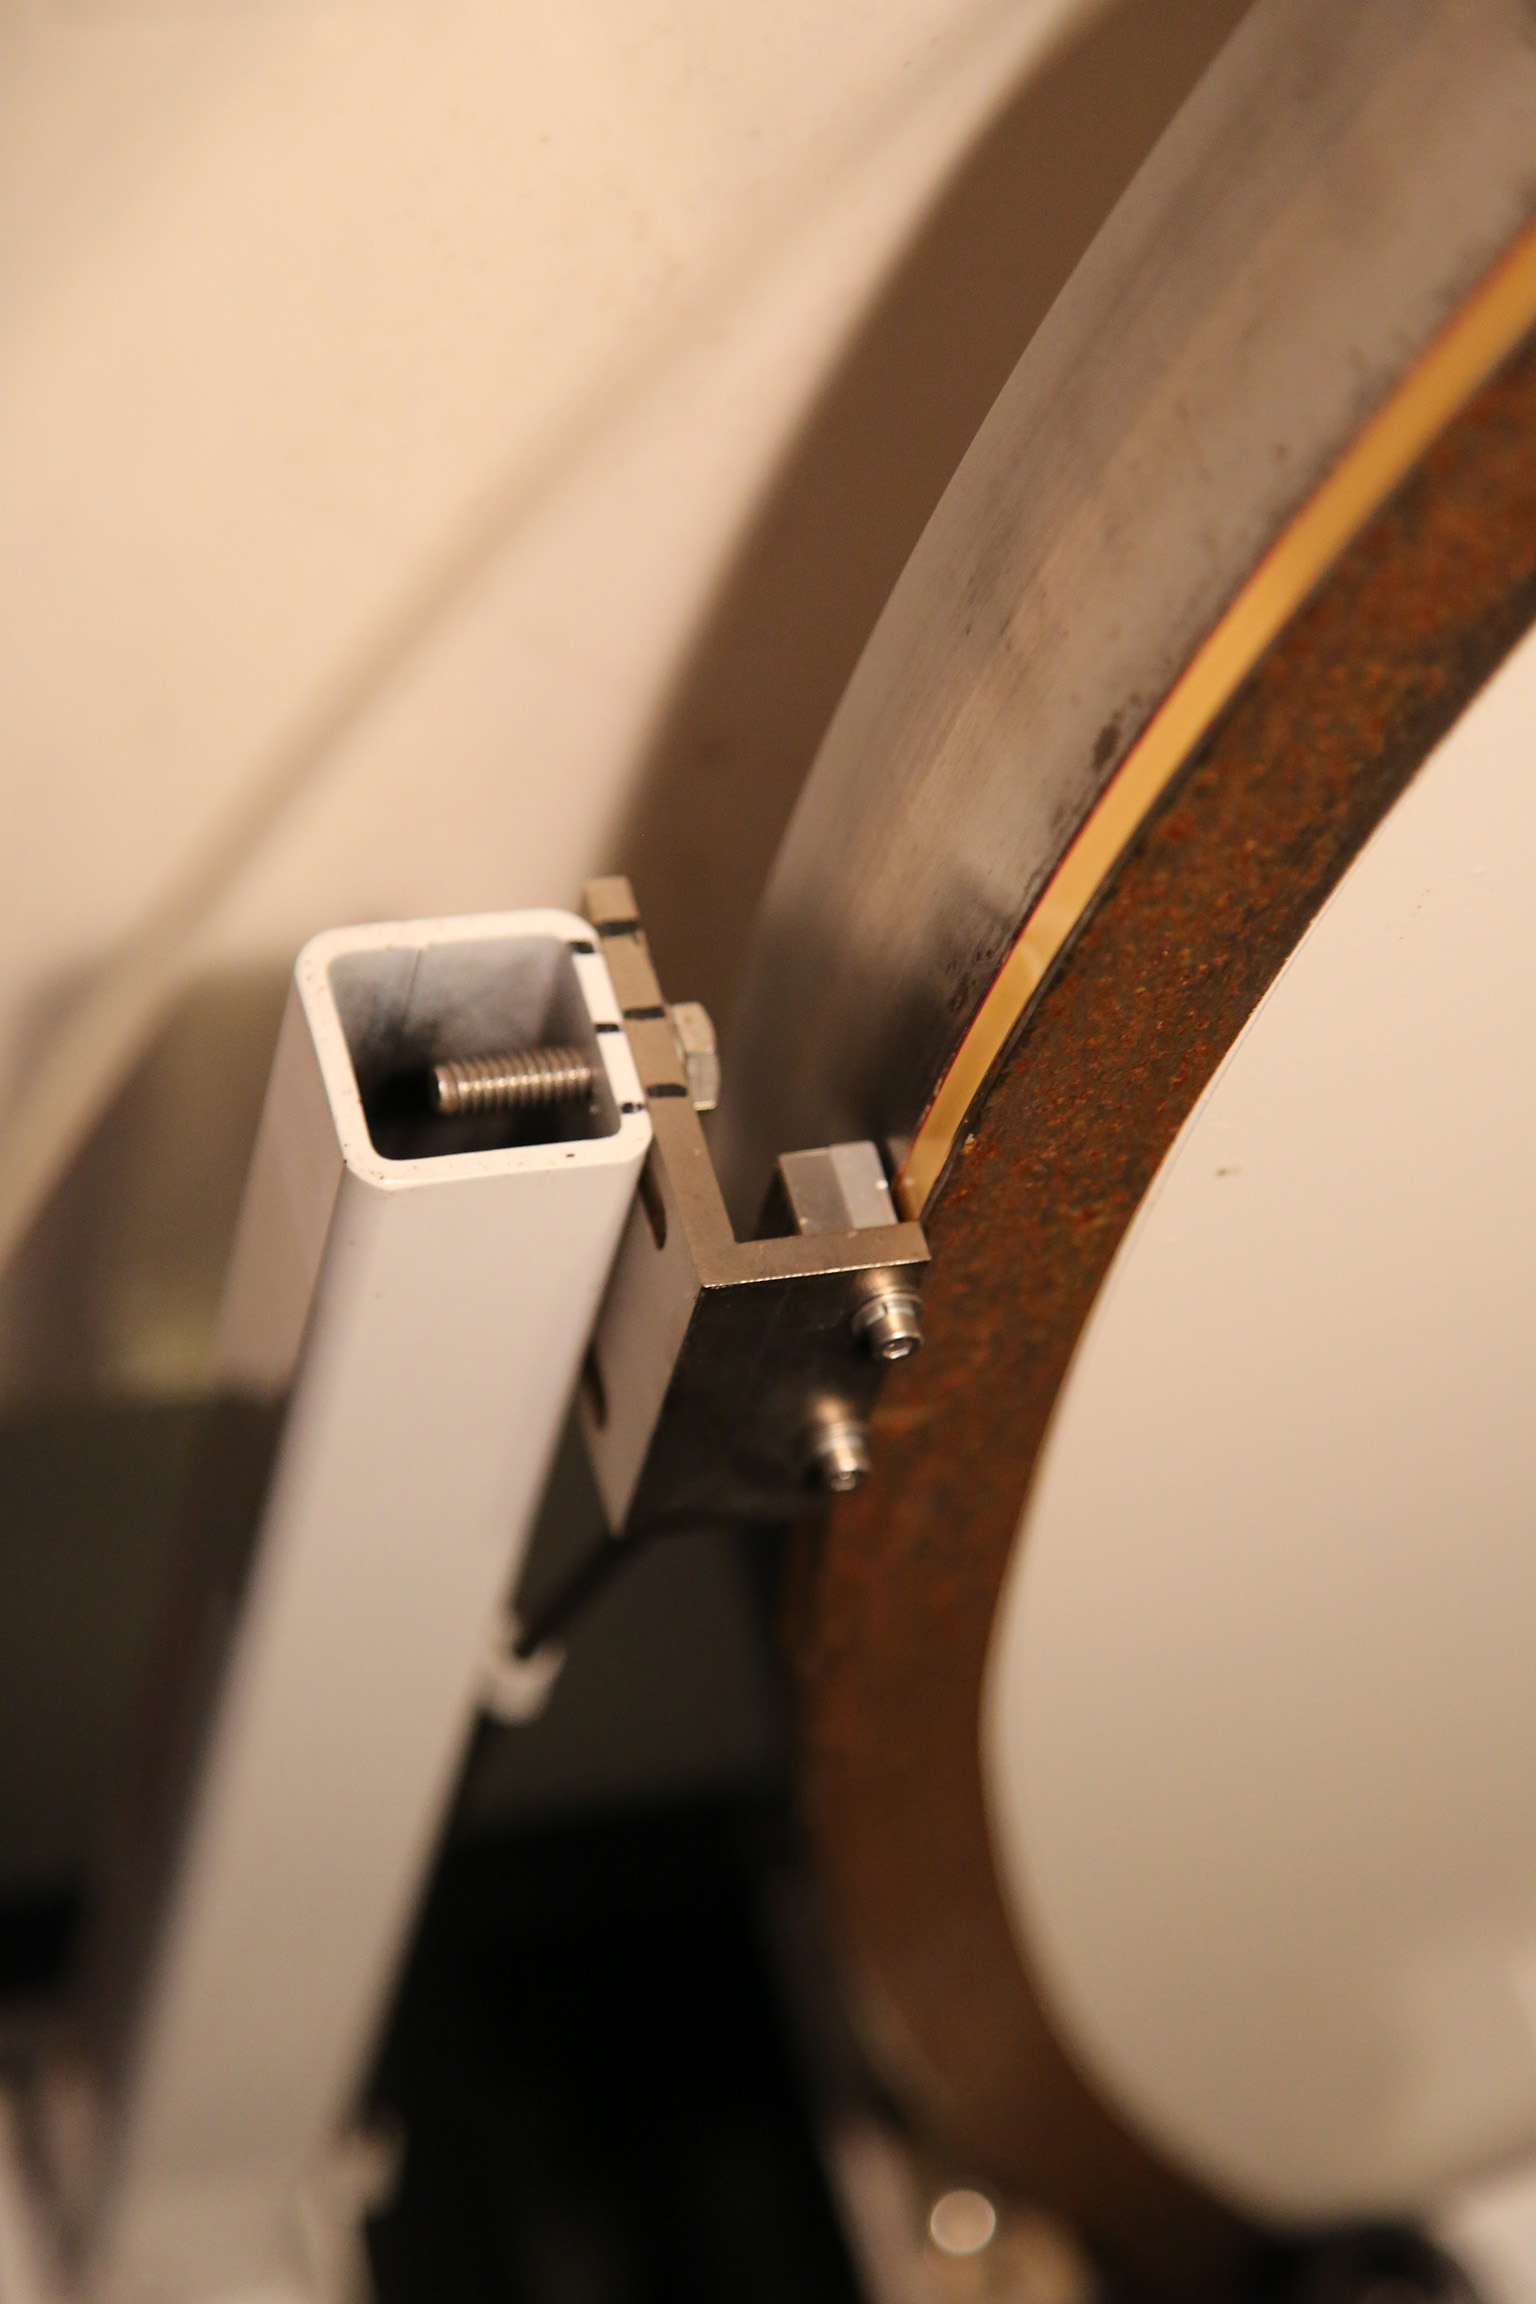
Check the RA Optical Tape and Read Heads
Before turning on the controller (or moving the telescope for normal operation) examine the RA axis optical tape for signs of water condensation or insect “residue.” This must be cleaned before operation. Make certain both the drive and idler bearings are also free of anything that might be transferred to the optical tape. Look closely at the read heads and check to make certain they appear aligned without anything in the space between the read head and the tape. (Use a thin Tek wipe or something similar to clear the space and clean the window if necessary.)
Check the telescope Balance state
As of Fall 2016 the telescope is in a balanced state when the following conditions are met:
- The CCD camera is attached to the back of the telescope. * (see note below)
- There are no extra hardware or eyepieces attached to the telescope (e.g. No eyepieces should be installed in the refractor.)
- The number of weights and configuration are as in the picture below:
- THE MIRROR COVERS ARE OPEN This will be done shortly.

Note (Eyepieces)
The combination of the 31mm Nagler eyepiece and adapter at the back of the telescope is sufficiently close to “balanced” that it is OK to follow the startup process in this state. Being optimized for the CCD configuration permits better success at automation and recovery from errors.
Manually Point the Telescope to the Zenith
When on site for startup purposes it is OK to move the telescope against the Declination brake to point the telescope vertically (at the zenith on the meridian). This step is necessary as mountain operations currently (Fall 2016) requires the telescope be pointed “up” before opening the mirror covers. During a recovery event when the controller is one but the telescope needs to be re-homed, opening the mirror covers in other positions will still be OK. Even if the mirror covers do not fully deploy (“Mid Position”)- the balanced state will be achieved and initializing the system can proceed. The mirror covers can then be closed and re-opened later.
Turn on the TIM Unit, Connect, and Open Mirror Covers
The TIM Unit must be turned on in order to open the mirror covers. Before turning it on make certain all connections are firmly seated into the enclosure. Turn the unit on with the rocker style toggle switch.
Next on the computer open the RCOS TIM software.

Connect to the TIM unit and navigate to the “Primary Mirror Covers” tab.

Open the Mirror Covers:

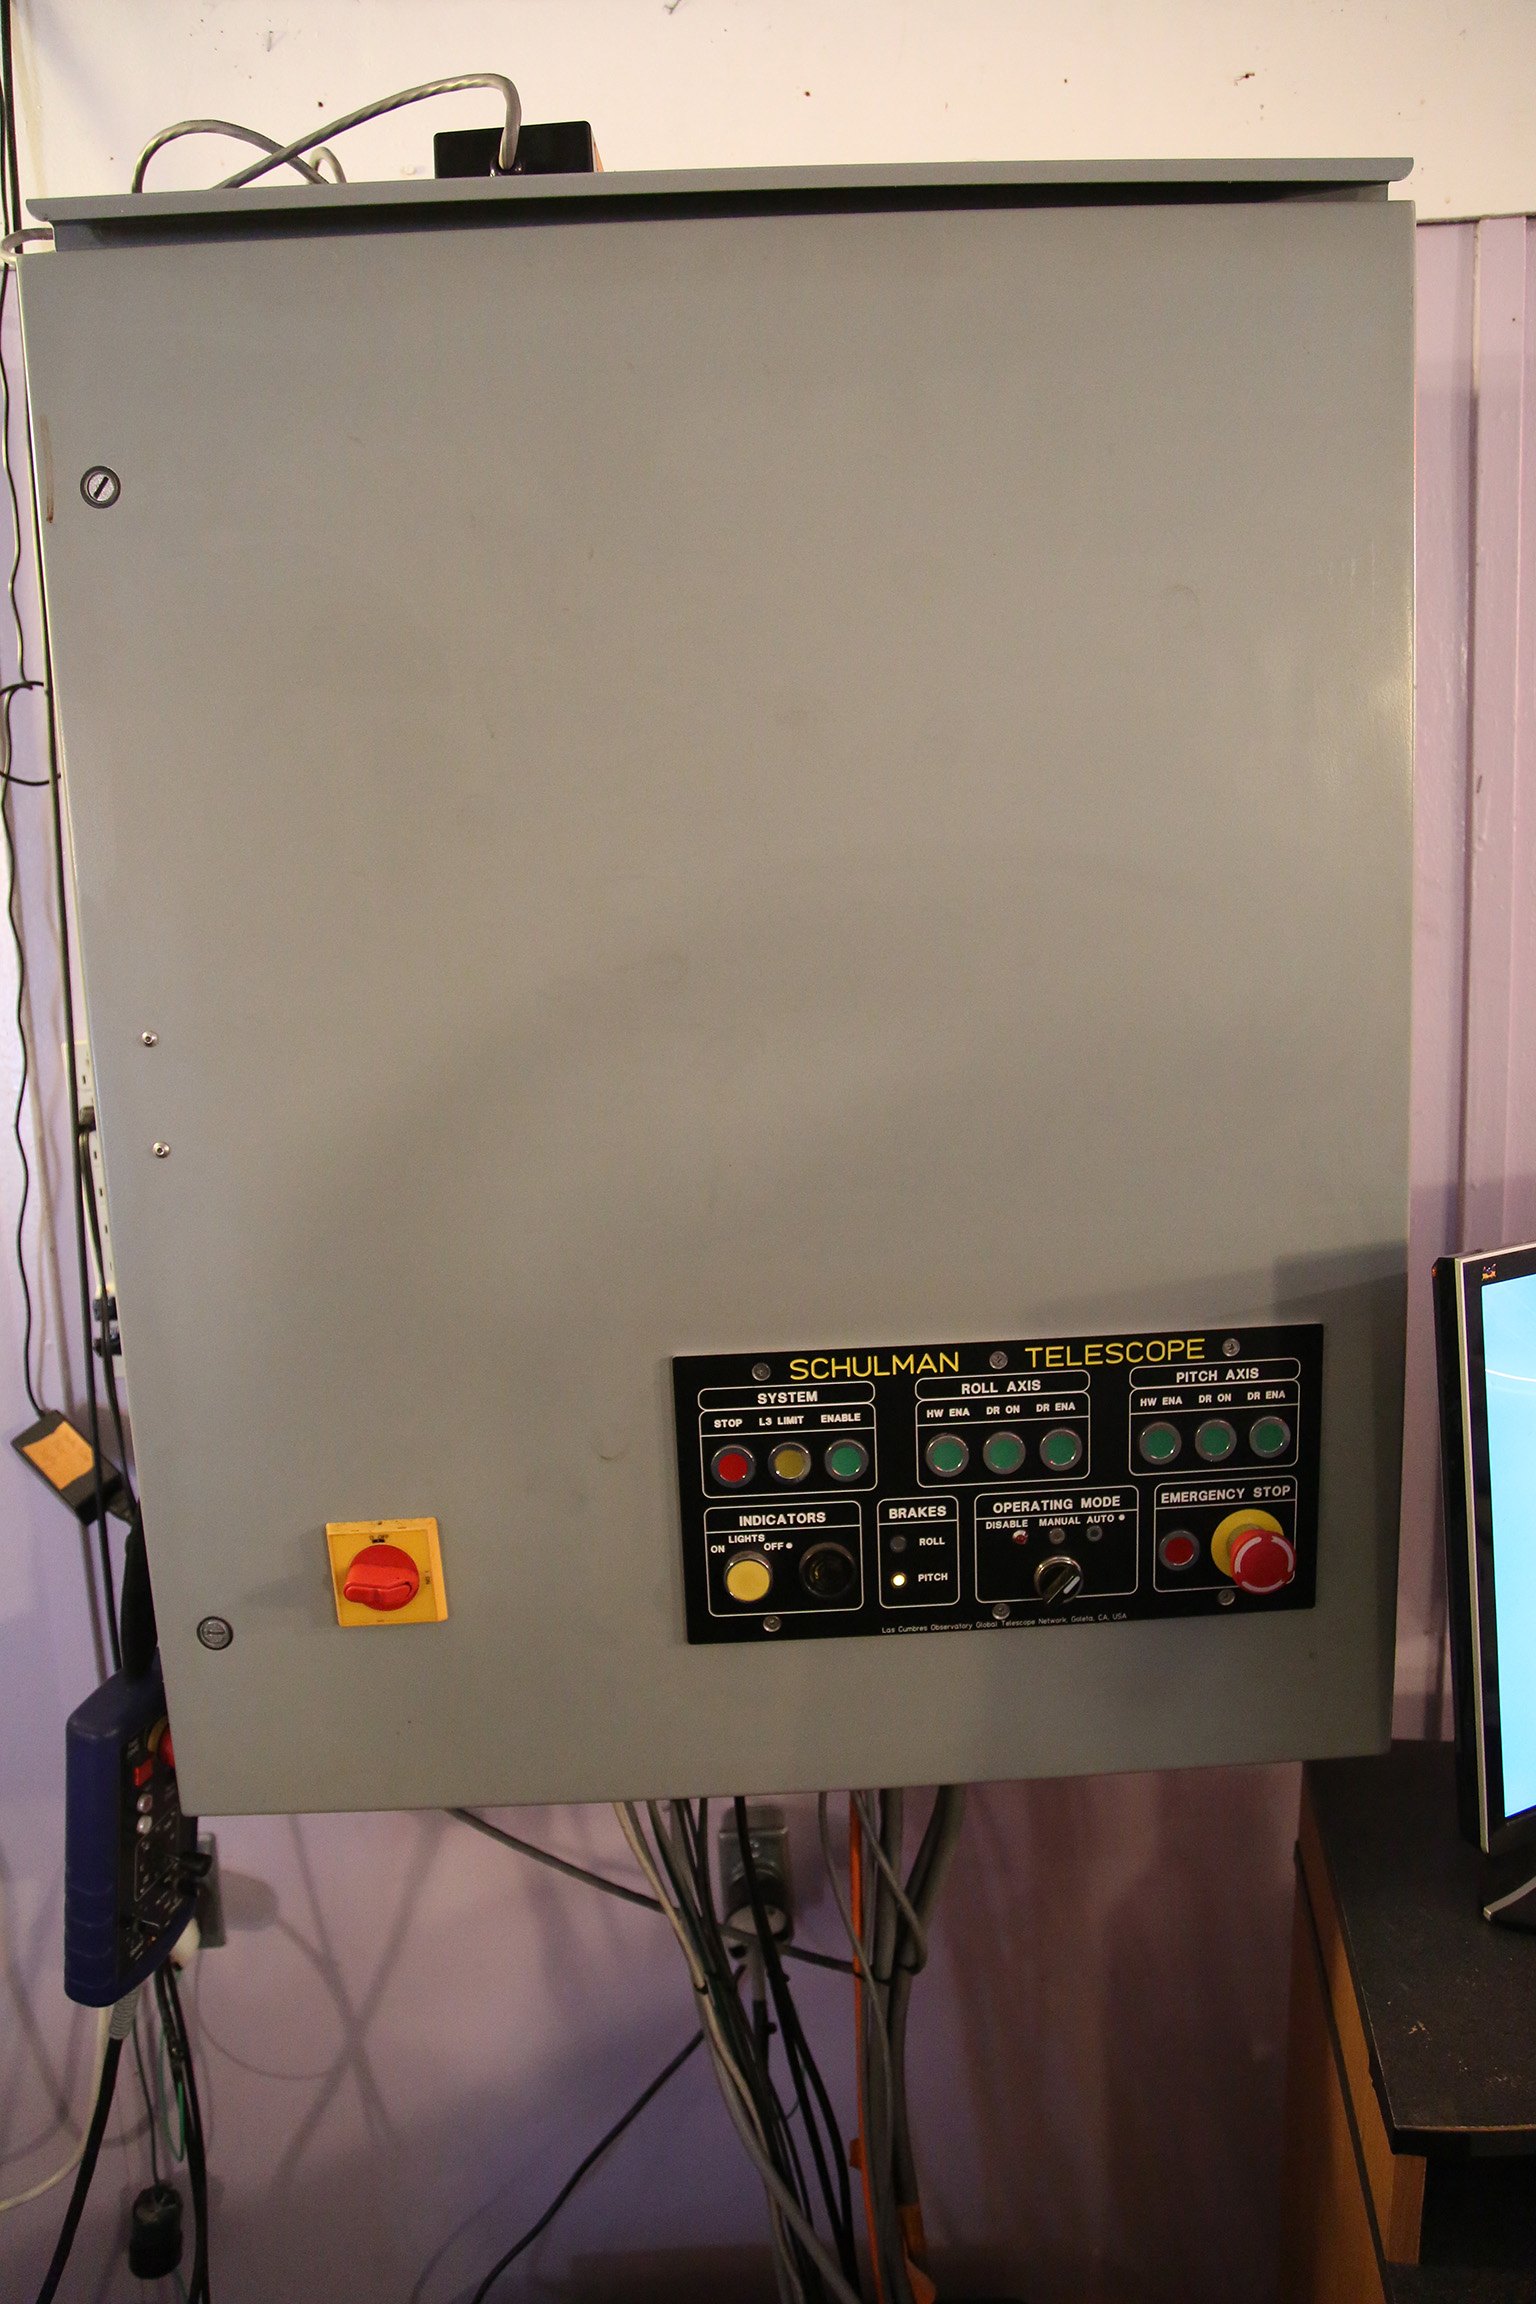
Turn On Telescope Controller
Turn the red switch to the “on” position. Fans and other noises will be heard as the system comes on. Wait for 3 minutes for the Mic and PubSub internal computers to boot. Generally when the MIC completes booting the drives/servos are alive and holding the telescope (listen for them).

Connect to the PubSub Machine using VNC
Open VNC and type the address to PubSub shown below:

(It is assumed the user has the password.)
Initially the desktop will be blank (black). Start PubSub processes by pressing the tool utility icon at the top of desktop. It is circled in the image below:

This will clear the database and give everything a clean start. Eventually (a few minutes) the “JADE” agent will load and the desktop will look like the below:

The small icons to the right of processes can be pressed to expand them and reveal the list as shown. Once the “Instruments-xx01_0m8a_doma” process is loaded under its section PubSub is ready to communicate with the telescope (and the user). The “RPC_Gateway” process will not show up until communication to PubSub through the web browser commences. This is in the next step. It is OK to close the VNC window.
Access the LCOGT GUI
Now that the system is up and running with drives, servos, and PubSub- access the LCOGT GUI:
- Open the Chrome Browser and click the quick link labeled PubSub (leftmost icon). You will be presented with the screen below:

- The log on name is unimportant. However default is required for the Config File field.
- Press the “OK” button to continue.
- Wait for PubSub to send all of the data to the browser. It will take 2-4 minutes. If you simply have a blank/white screen → going back to PubSub through VNC may be necessary to make certain it is setup correctly.
- Once the GUI comes up you will be presented with the Site heads up information. Note the small tab is labeled “tus.” This stands for “Tucson.” None of the capabilities on this screen are currently in use.
- Click on the tab beneath “tus” to expose the information under the “doma” tab. The LCOGT software can be used to control multiple telescopes at a site. Our single site has a single telescope in the “A” dome which is roughly “doma.” Again this functionality is not being used.
- Finally click on the “0m8a” tab to expose the controls for the Schulman Telescope. This tab roughly translates to 0.8m a (or first 0.8m telescope).
- Take note of the color of the fields in the column on the left in the above image. They should all be green when the telescope is ready to be used. The “astrometric kernal” can be “yellow” when the drives are not tracking. If the telescope is tracking, this will also be green. If you come to this tab/screen quickly after rebooting PubSub, you may see fields such as “Mount State” indicate “initializing.” This is OK provided that the agent does eventually initialize the drives and the field goes to green after a minute or two.


Homing the Schulman Telescope
The telescope must be homed before it can be operated.
- Go to the Axes tab. Note that the axes are Unhomed.
- Press the large HOME button (circled below) to move both axes simultaneously to the home position. See Telescope Orientation for the correct position.
- Once homed successfully the state field will briefly go to “stopped” and then finally “L1 Positive Limit” in both axes:
- Now go to the Source tab and move the telescope out of the limits to a valid sky position. If the telescope is not going to be used immediately typically the telescope is sent to the park position. Remember to stop the tracking loop if observing is not going to start. The zenith position is inputted in the picture below.

- Please see the Using the LCOGT GUI and Moving the Telescope section for more information.


