Grating Cover Removal and Installation

last update:  June 6, 2013

Printable versions of these instructions:  DOC  PDF

IMPORTANT NOTES:
To remove the Grating Cover:

1.  Raise the spectrograph to the alignment frame, or mount it on the telescope.

2.  Find the plastic grating cover box with the white cover, which is stored in the MAESTRO cabinet in the common building.  It should contain the driver you need, and rubber gloves.

3.  Take off the side of the spectrograph cover which allows access the grating area.  The spectrograph cover is held in by a number of captive screws.  These should be finger tight, but sometimes require a flat-head screwdriver to loosen.  The cover will usually have been taped up to mitigate dust and light contamination.  Remove all tape.

4.   Put on rubber gloves.  This is crucial, since accidentally touching the major optics will leave fingerprints otherwise.  If someone is helping you, have them put on rubber gloves as well.

5.  Loosen and remove the 5 screws indicated in the photo below.  Be careful to hold the plastic grating cover in place while loosening the last screws, so it doesn't fall onto the prism.  Do not drop the screws.

6.  Remove the plastic grating cover and place it in the plastic grating cover box.   Be very careful not to bump the prism.

7.  Put the 5 screws in the little plastic bag in the plastic grating cover box

8.  Replace the driver in the plastic grating cover box.

9.  Re-attach the black spectrograph cover with the captive screws.  Be careful not to strip the holes. 

10.  Tape up cracks in the spectrograph cover with black tape.


To put the Grating Cover on:

1.  The spectrograph must be off its cart, i.e. it must be hanging from the alignment frame, or mounted on the telescope.

2.  Find the plastic grating cover box with the white cover, which is stored in the MAESTRO cabinet in the common building.  It should contain the driver you need, the grating cover, the screws you need in a little plastic bag, and rubber gloves.

3.  Take off the side of the spectrograph cover which allows access the grating area.  The spectrograph cover is held in by a number of captive screws.  These should be finger tight, but sometimes require a flat-head screwdriver to loosen.  The cover should have been taped up to mitigate dust and light contamination.
Remove all tape.

4.   Put on rubber gloves.  This is crucial, since accidentally touching the major optics will leave fingerprints if you are not wearing gloves.  If someone is helping you, have them put on rubber gloves as well.

5.  Examine the grating cover and wipe off any dust or dirt.

6.  CAREFULLY place the plastic cover on the grating, taking care not to bump the prism.  Holding it with one hand, gently insert and hand tighten at least two of the screws which hold it in place.  Once it is secure, insert the remaining screws and tighten using the driver.  Be very careful not to strip the screws or inserts. Also take care not to touch the prism.  And don't drop the screws.

7.  Re-attach the black spectrograph cover with the captive screws.  Be careful not to strip the holes. 

8. Tape up cracks in the spectrograph cover with black tape, so dust does not enter the grating area.

9.  Put the driver in the plastic grating box and return the box to the MAESTRO cabinet in the common building.


PICTURES:  Click on image to enlarge and see labels.


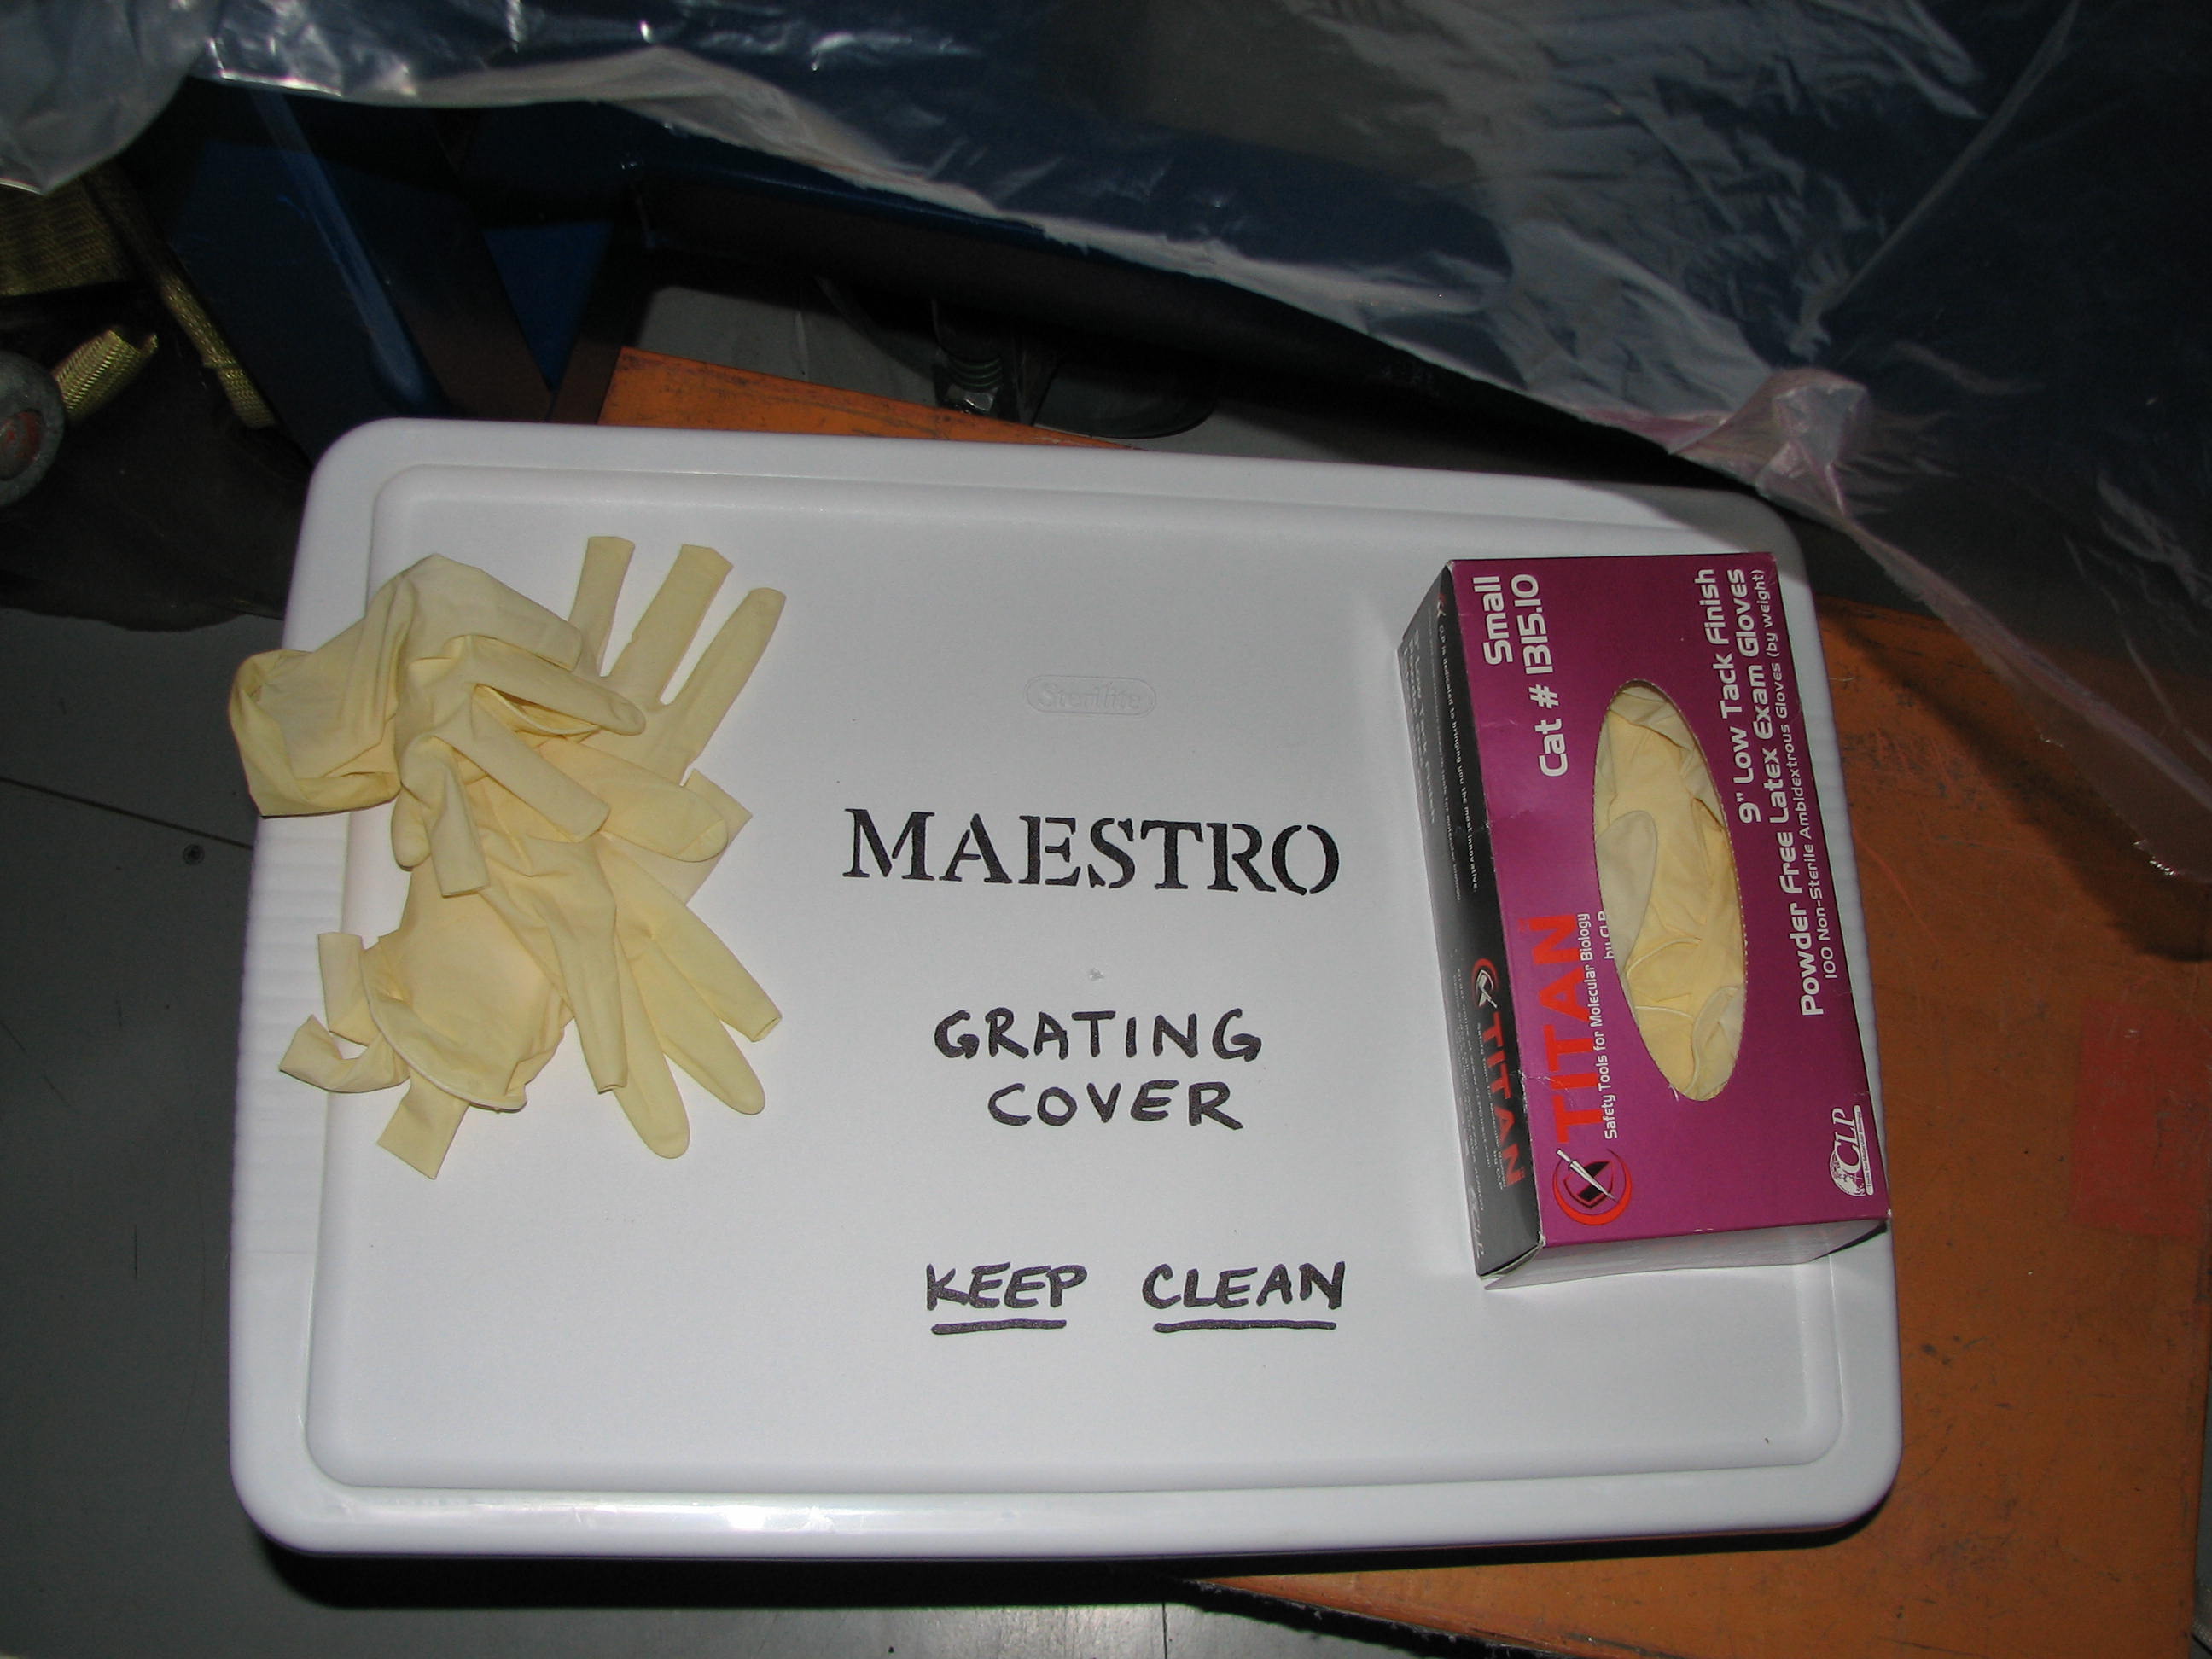
White plastic box which is stored in the MAESTRO cabinet in the common building.  Store the grating cover, screws and driver in this box when not in use.

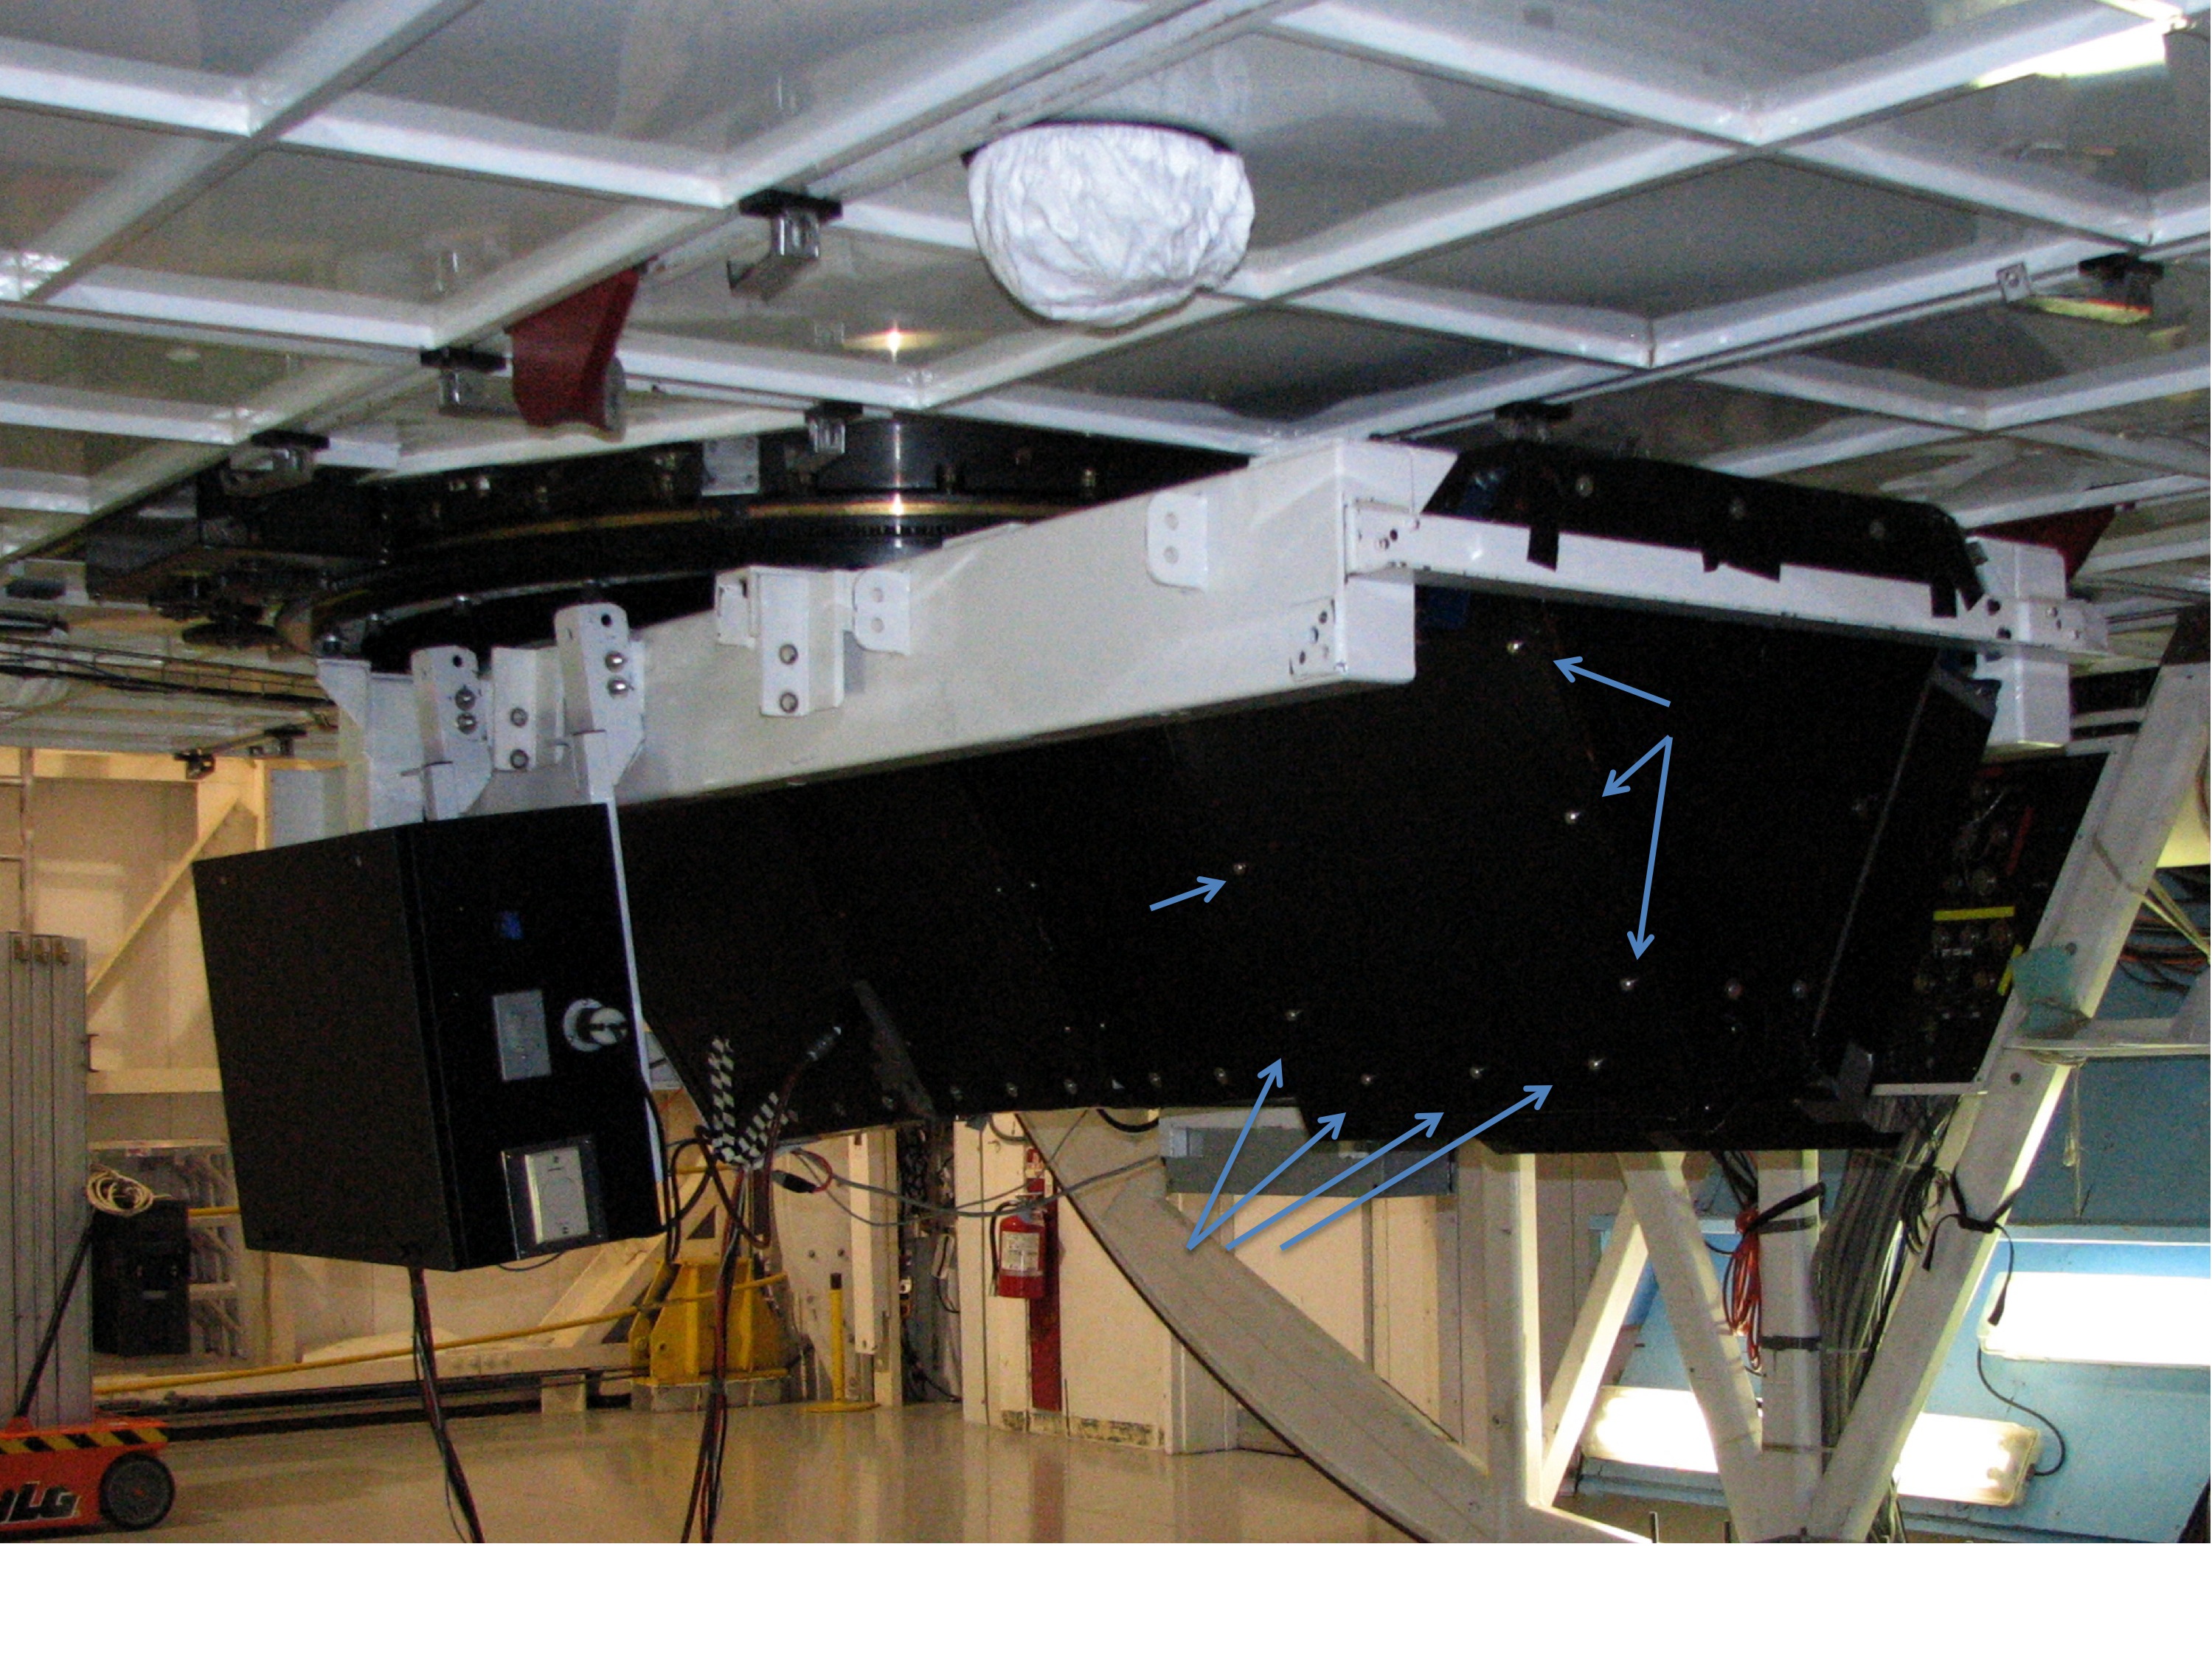
Photo of the spectrograph mounted on the MMT, with the captive screws of the cover indicated by blue arrows.  Loosen these and remove the black panel to access the grating.

This photo was taken when the guider cooler was still in the black CCD electronics box.  The guider cooler is now mounted from the white frame, near the grating access.

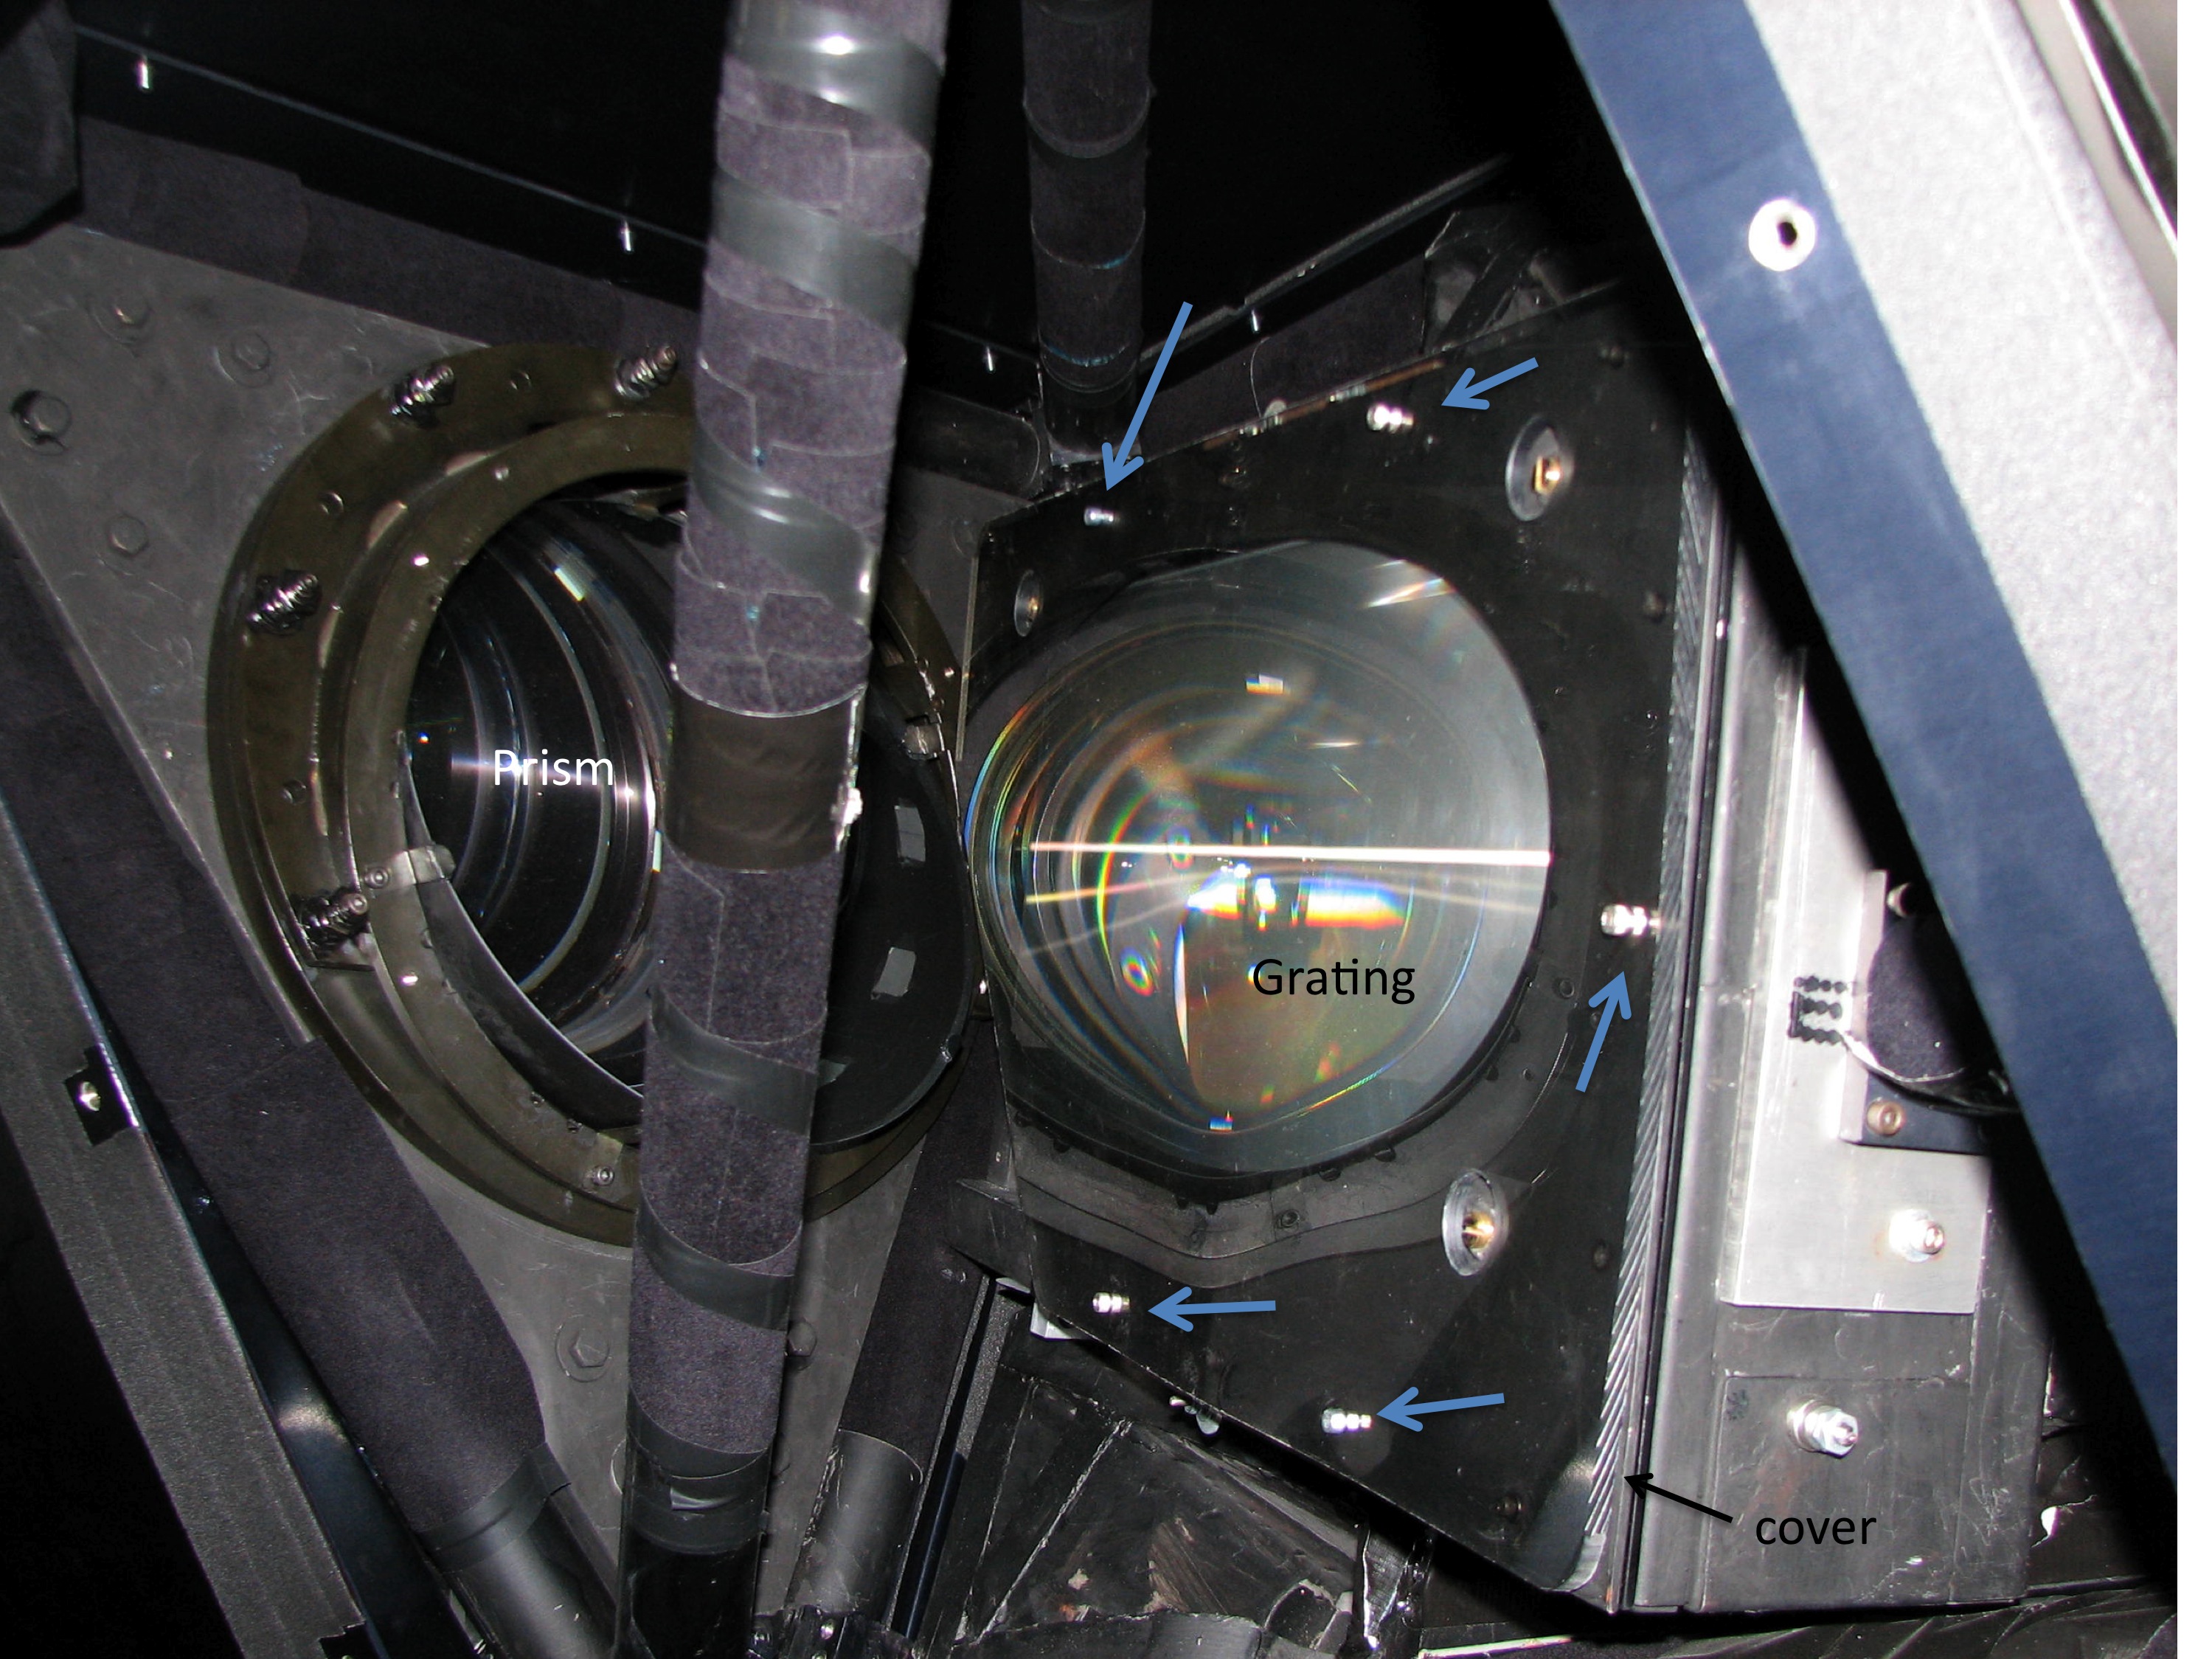
The spectrograph cover has been removed, revealing the grating and prism.  The screws which hold the grating cover in place are indicated by the blue arrows.